

Rover P5B Coupe In The Nude [Part 5]: The Engine
Time to settle-down with a hot mug of tea and a biscuit, as there’s a lot to get through here. As I write it’s 5 days to mid-winter, and it’s dark and cold and raining outside. What better than to watch Cyrille dismantle a Rover V8 engine.
This isn’t meant to be an in-depth manual of how to strip the engine – that would take longer than is practical here, and is covered in the various workshop manuals you can buy. Rather, we look at stripping the engine’s main components in order to provide useful information for the majority of tasks that any reasonably skilled home mechanic could undertake. Hopefully this series is showing that pictures really are worth a thousand words.
As the car being dismantled is a P5B, this part shows only the V8 engine. Apologies to P5 owners, but hopefully it will still be of interest to learn about the V8.
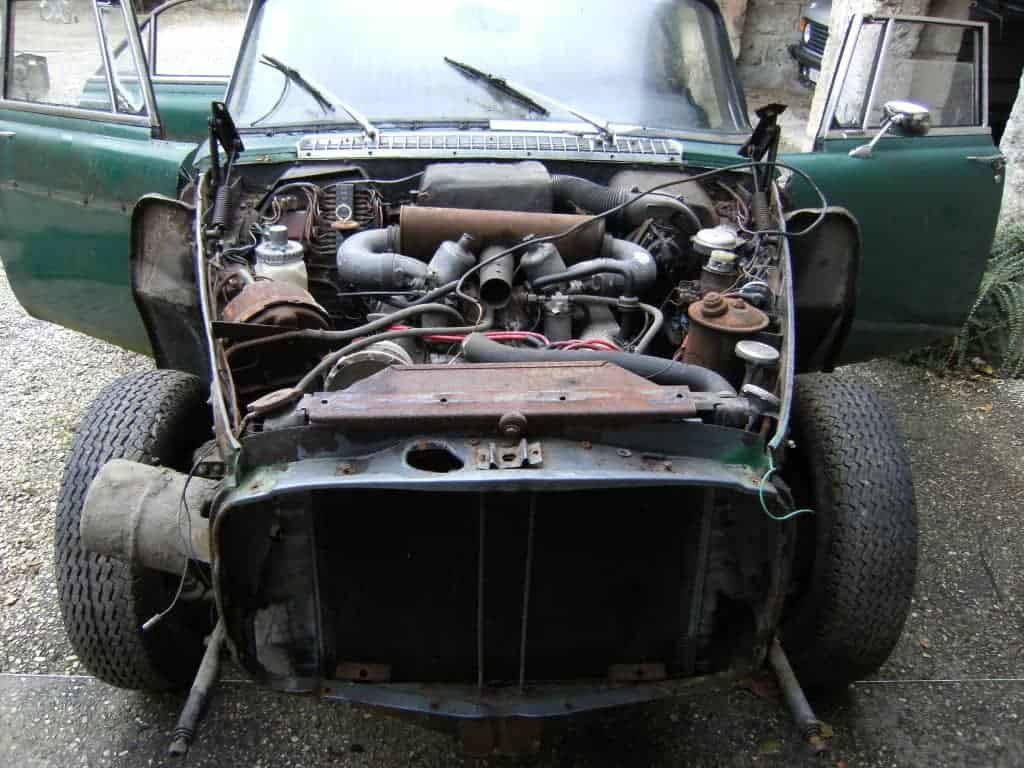
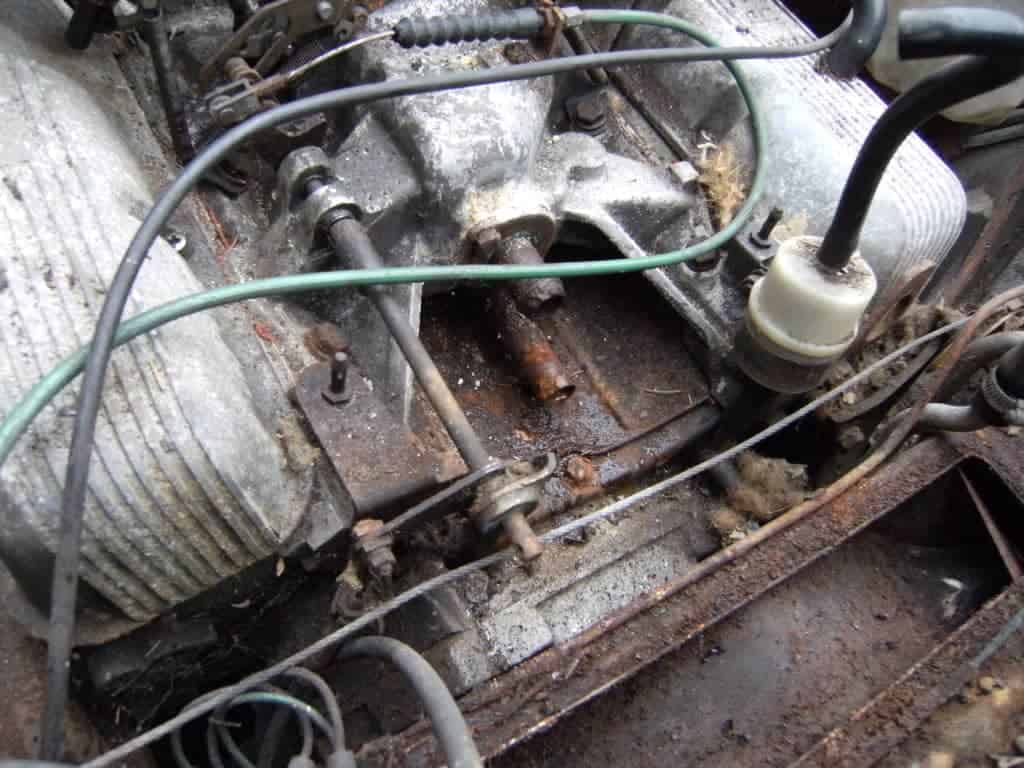
Just to recap, here’s the engine in the car before removal. Quite a packed engine compartment:
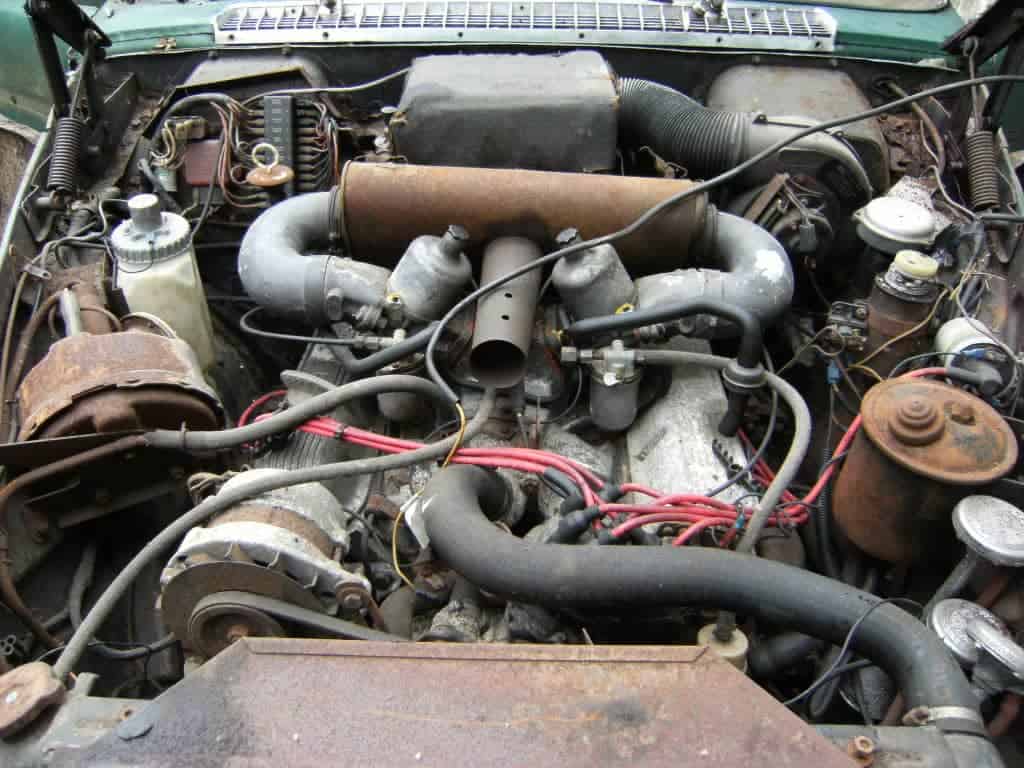
The front heater matrix is the large box at the top of this photo:
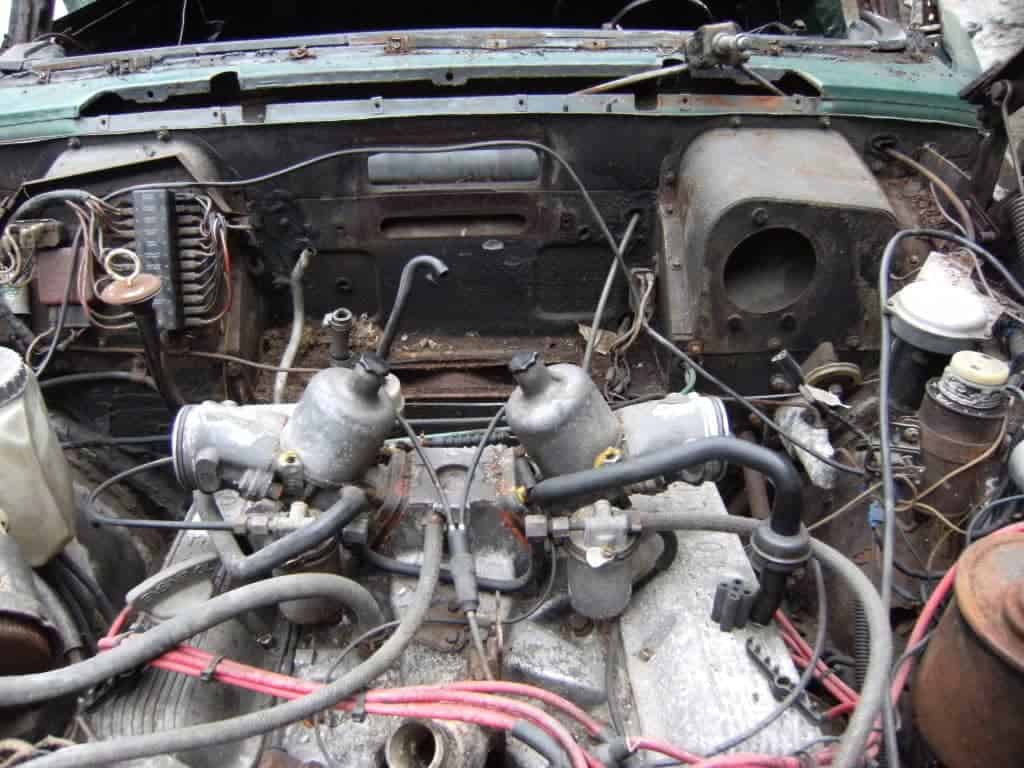
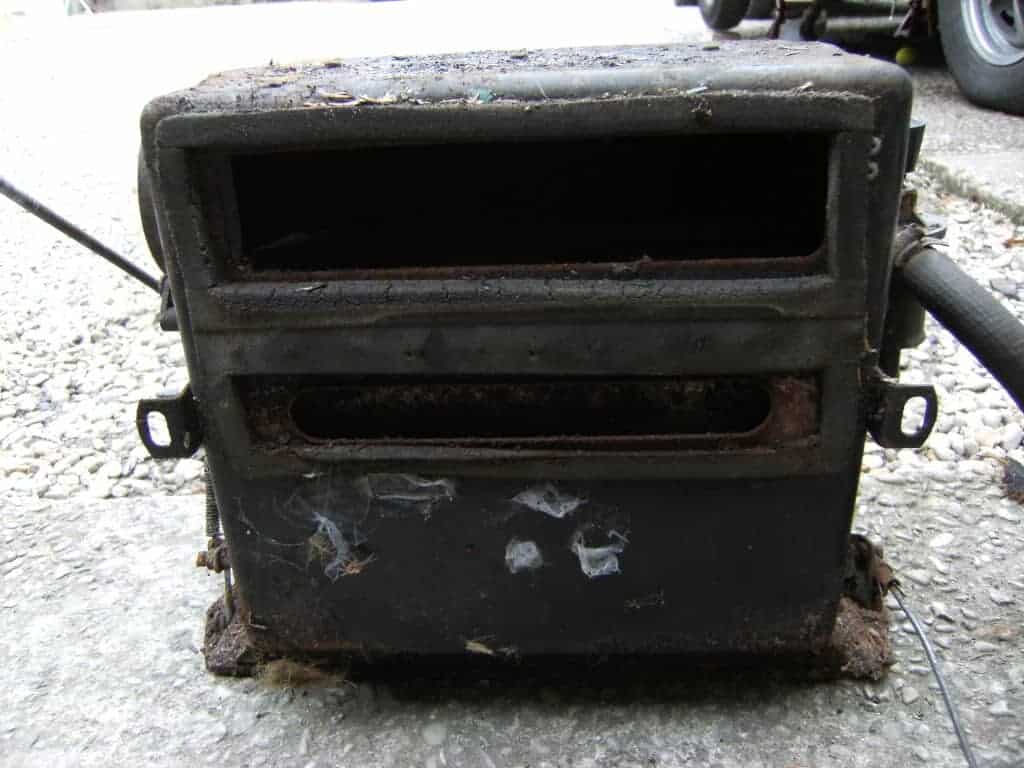
Starting at the back of the engine compartment, here’s the front heater unit:

Here you can see the front heater matrix with its insulation cover removed. The item mounted on the left of the matrix (as we look at it here) is the tap to shut-off the supply of water to the rear heater. These often stick through lack of use – they can normally be freed with some persistence (and a soaking in penetrating fluid):

The engine bay with the front heater matrix removed, as well as the fan unit removed (on the right as we look at the photo):
And here’s the front heater matrix itself. We’re looking at the rear side (the side that fits against the front bulkhead):
The heater pipes on the inlet manifold. These are made of aluminium and can corrode over time – replacement stainless steel versions are available. The same is true of the pipe that passes under the inlet manifold:

And the pipes removed. The filter on the right is the crankcase breather that vents into the air cleaner. It’s not the fuel filter:
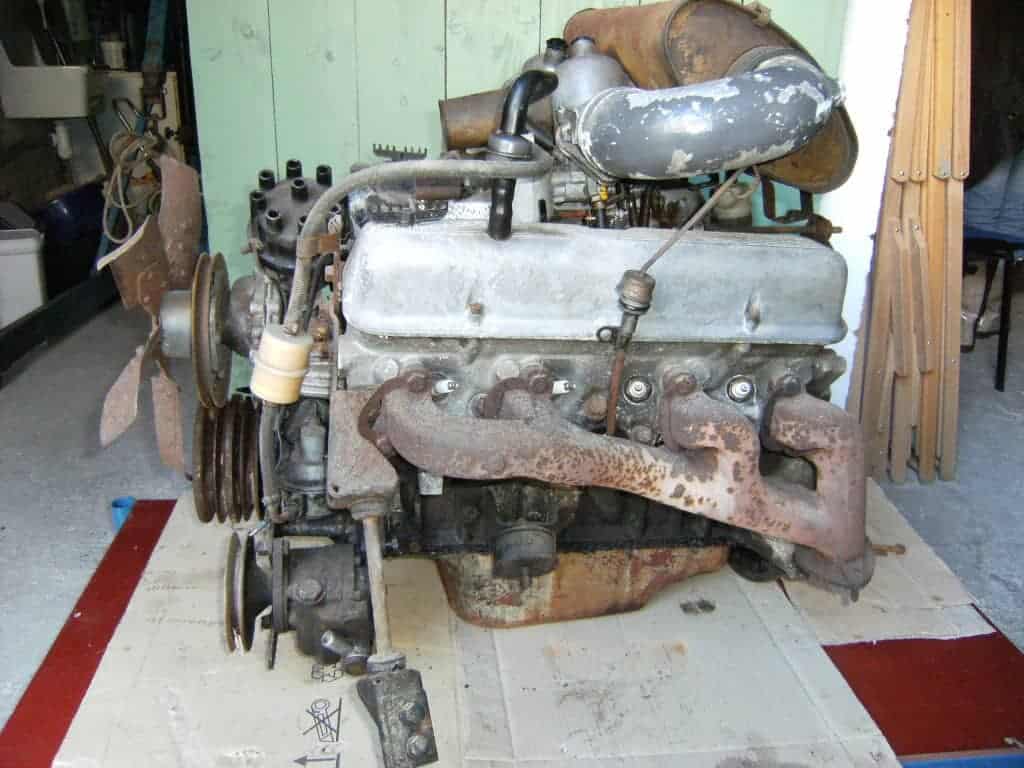
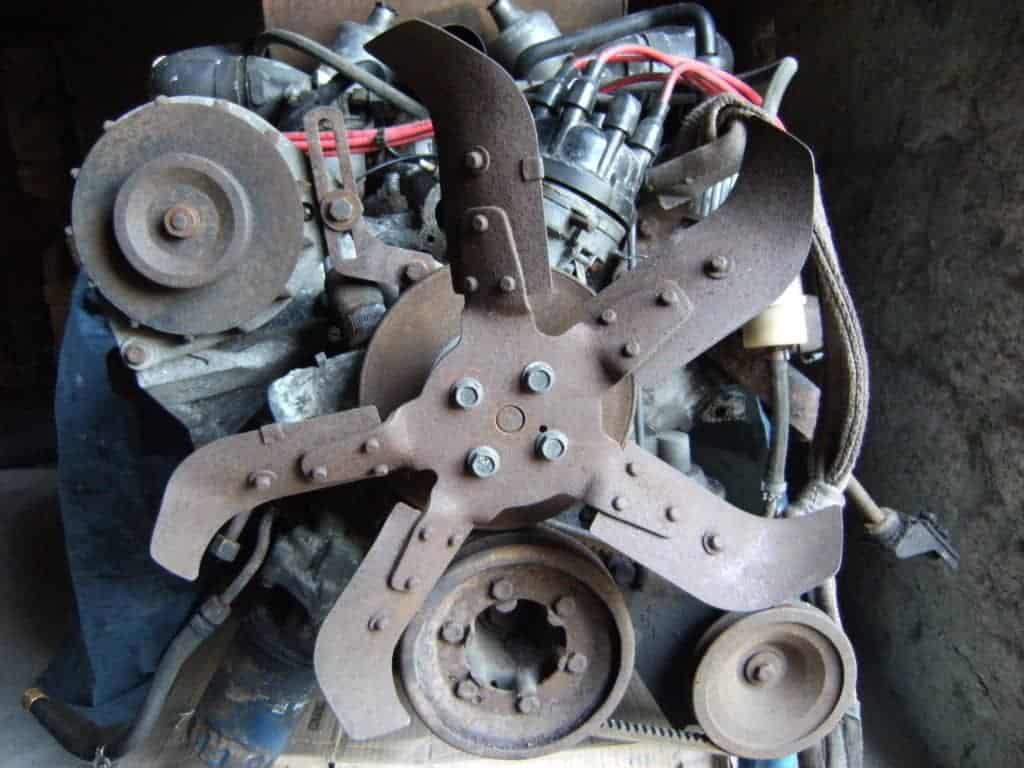
The V8 engine out of the car. Here’s the front. The fan isn’t bent – it’s meant to look like that. The blade tips are intentionally bent and the blades unevenly spaced. This reduced fan noise by preventing air resonance, just one example of Rovers attention to detail and engineering focus:

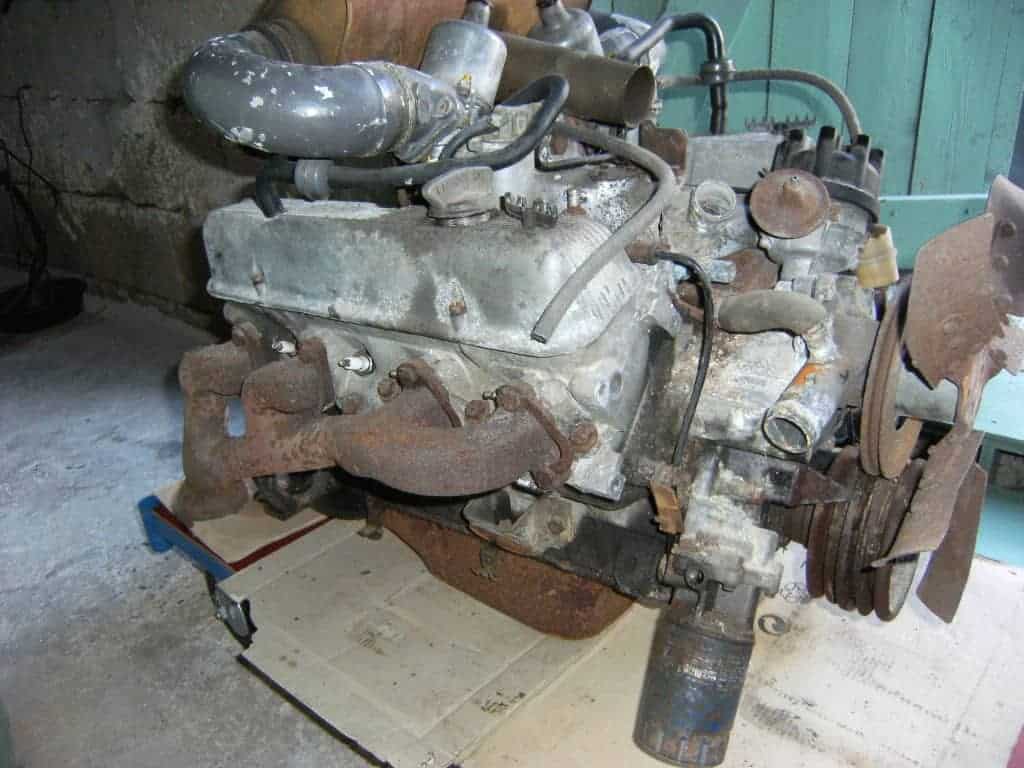
The left-hand-side:
The right-hand-side:
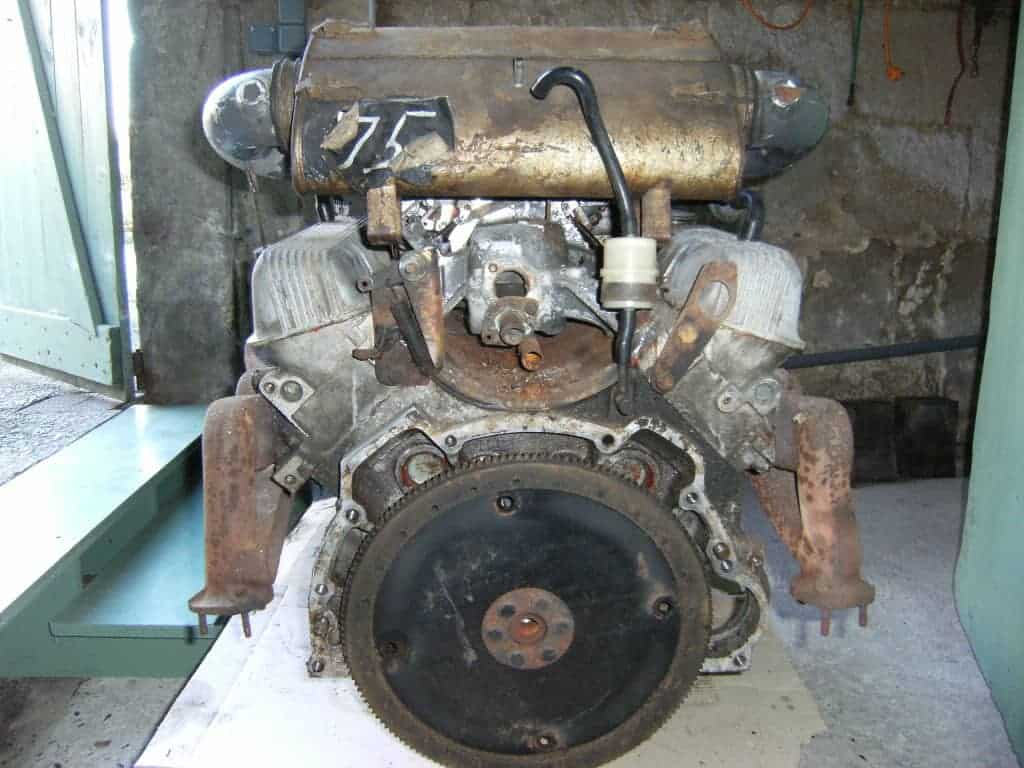
And the rear:
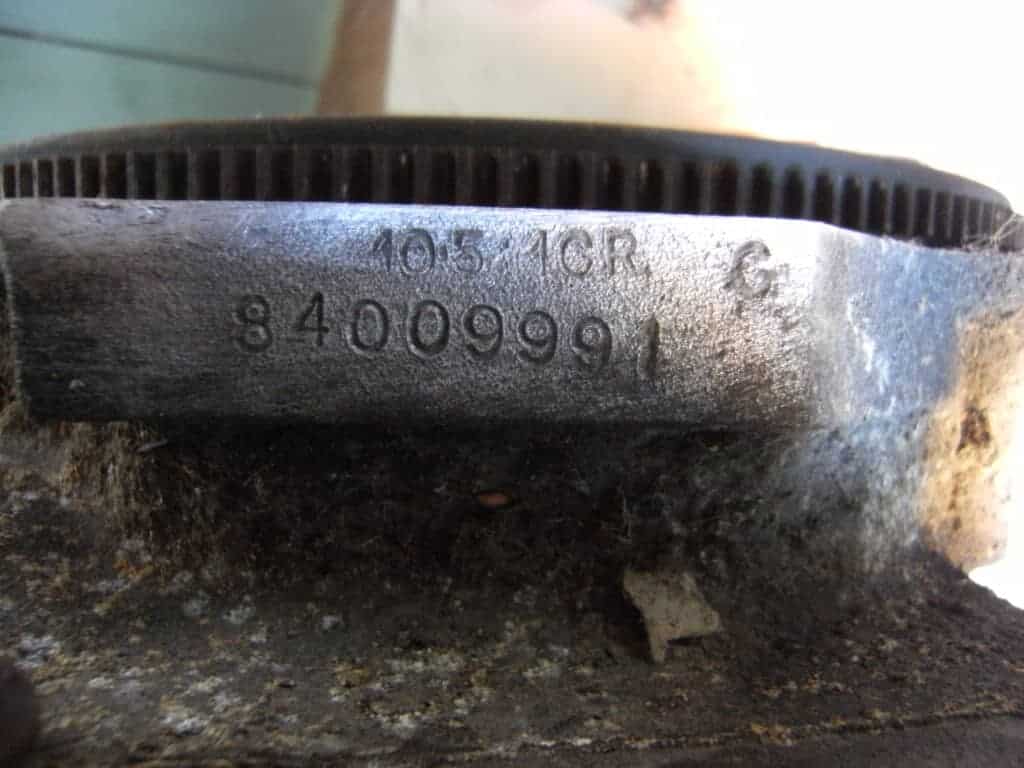
Here’s the Engine Number stamped at the rear of the engine:
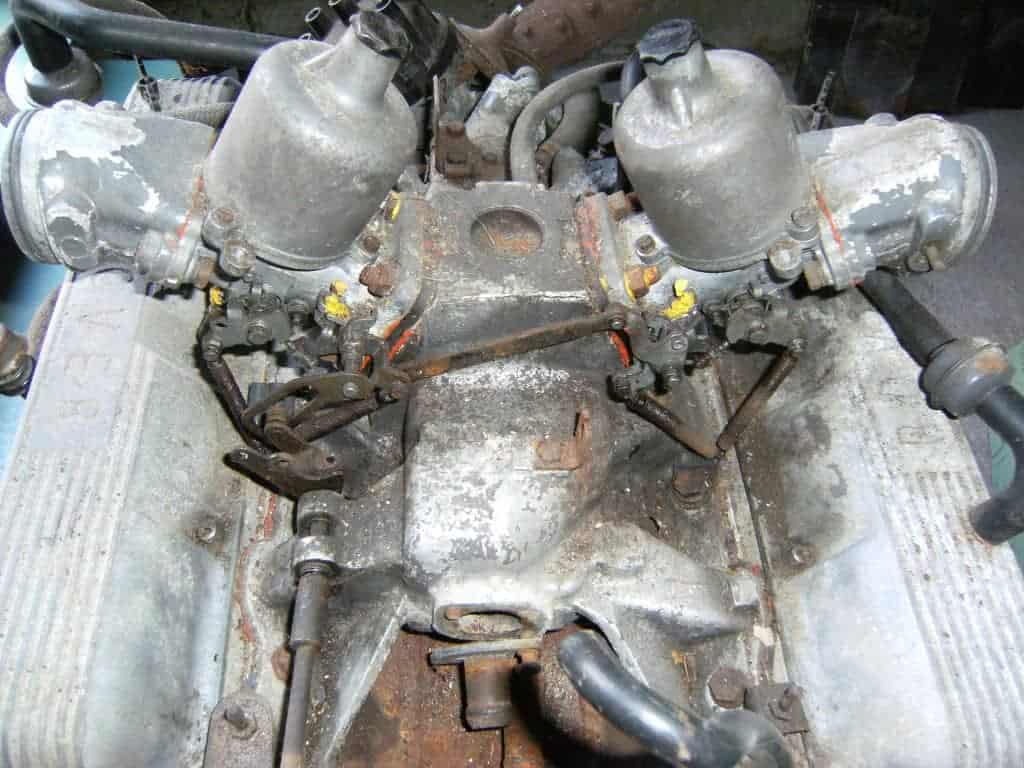
The inlet manifold with the twin SU HS6 carburettors still in-place:
And now with the carbs removed:

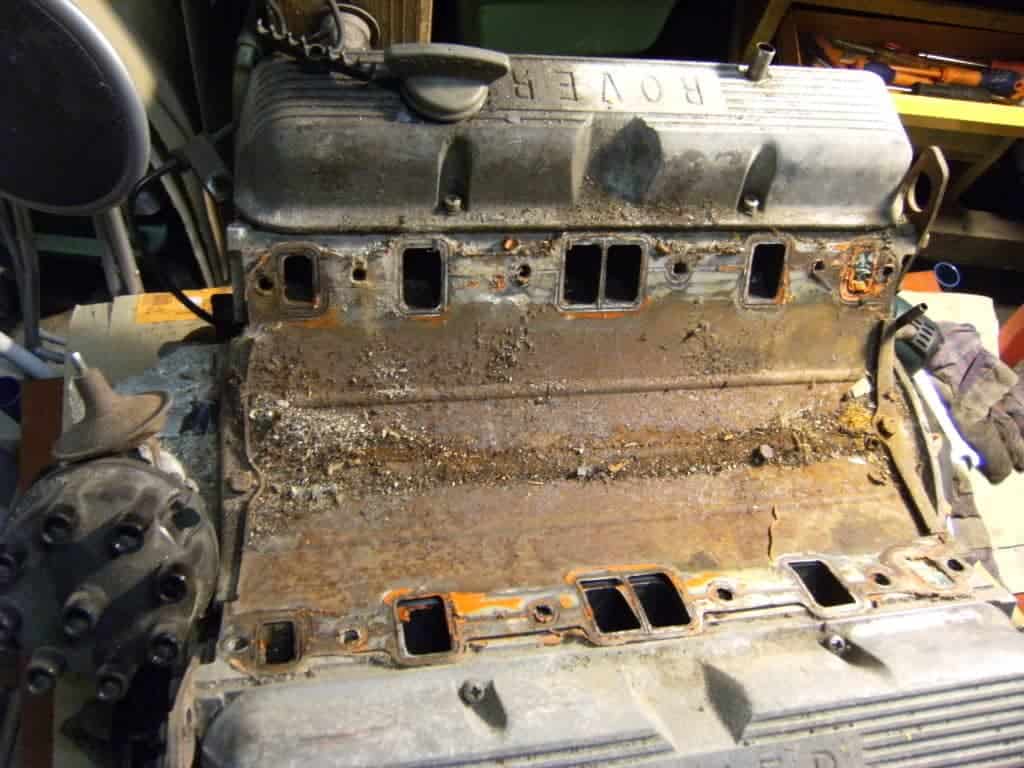
The engine with the inlet manifold removed. The inlet manifold gasket is still in-place, covering the ‘valley’ of the V8:
And the inlet manifold itself. This is the underneath of the manifold.

The rusty pipe takes water under the manifold, from the front of the radiator to the heater matrix. As one contributor says, these pipes often rust as they’re made from steel – it’s not always the outside which is the problem, it’s the inside that corrodes, unseen, and blows under the 15lb water pressure then leaks away under the manifold and dries up with the heat of the engine – difficult to spot. Stainless steel replacement pipes are available, or you could make your own copper replacement – either is worth doing if you ever remove the inlet manifold.
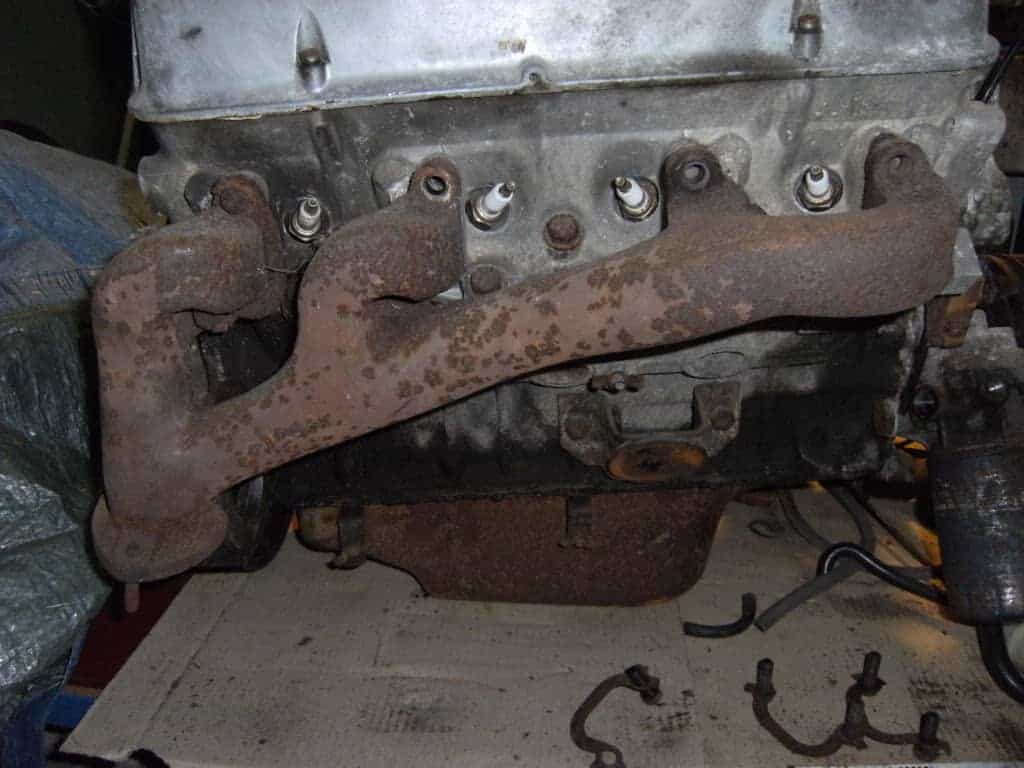
The exhaust manifold, right-hand-side, before and after removal:
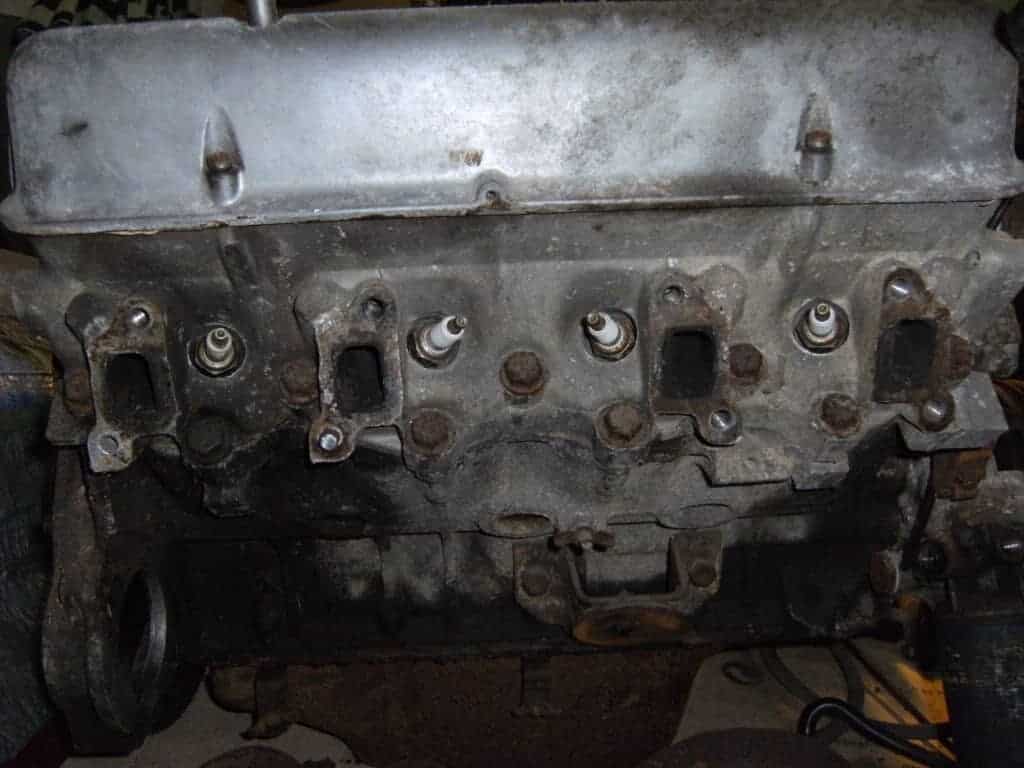
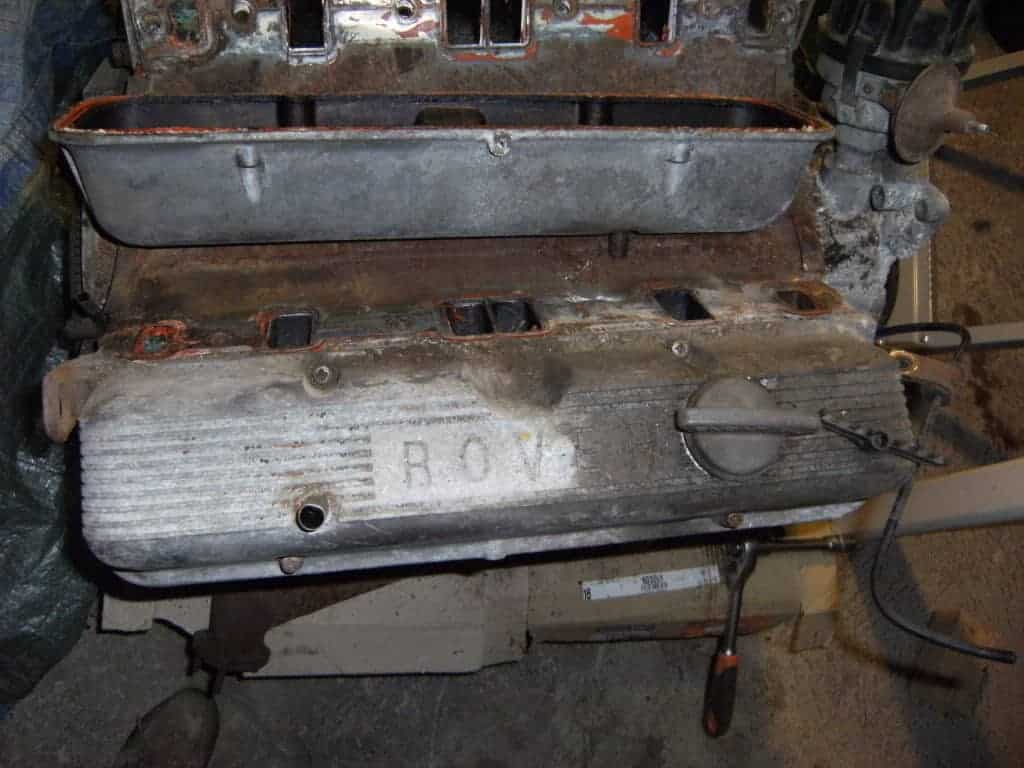
The rocker cover (the right side is in place, the left is removed here):
Here’s whats under the right rocker cover:
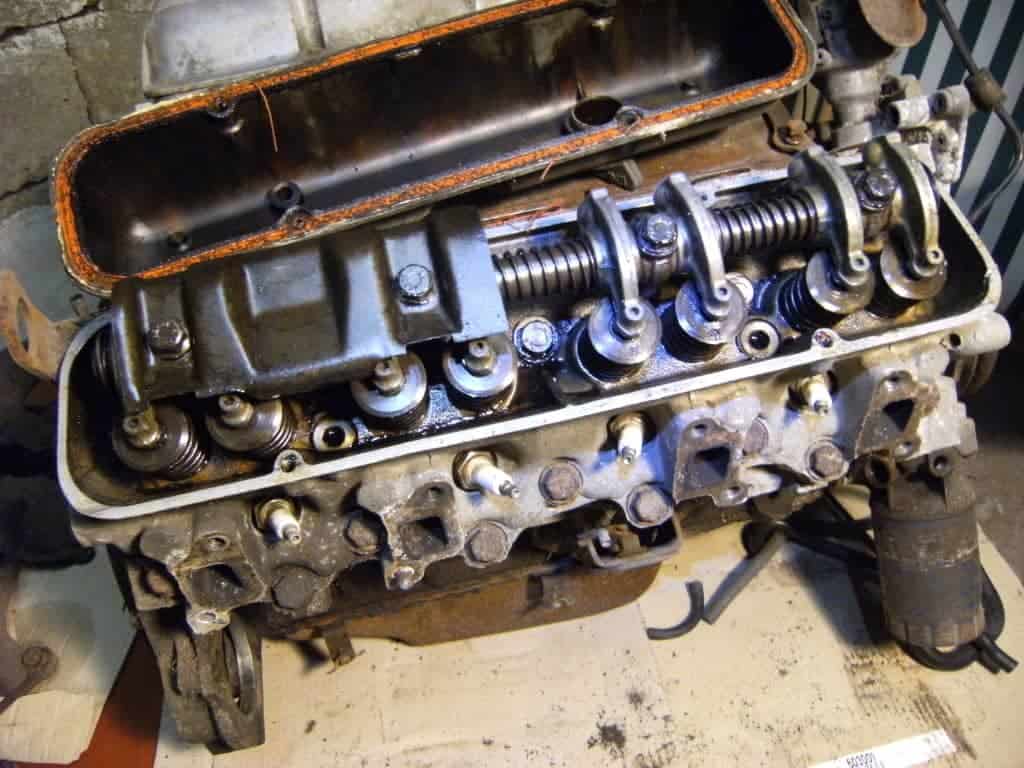
The rocker shaft removed, as well as the manifold gasket. The pushrods are clearly visible:

One contributor noted that internally these engines are generally black and coated in sludge. This one looks quite clean, like it has been recently reassembled, or it has been running on LPG which, over time, cleans them up.
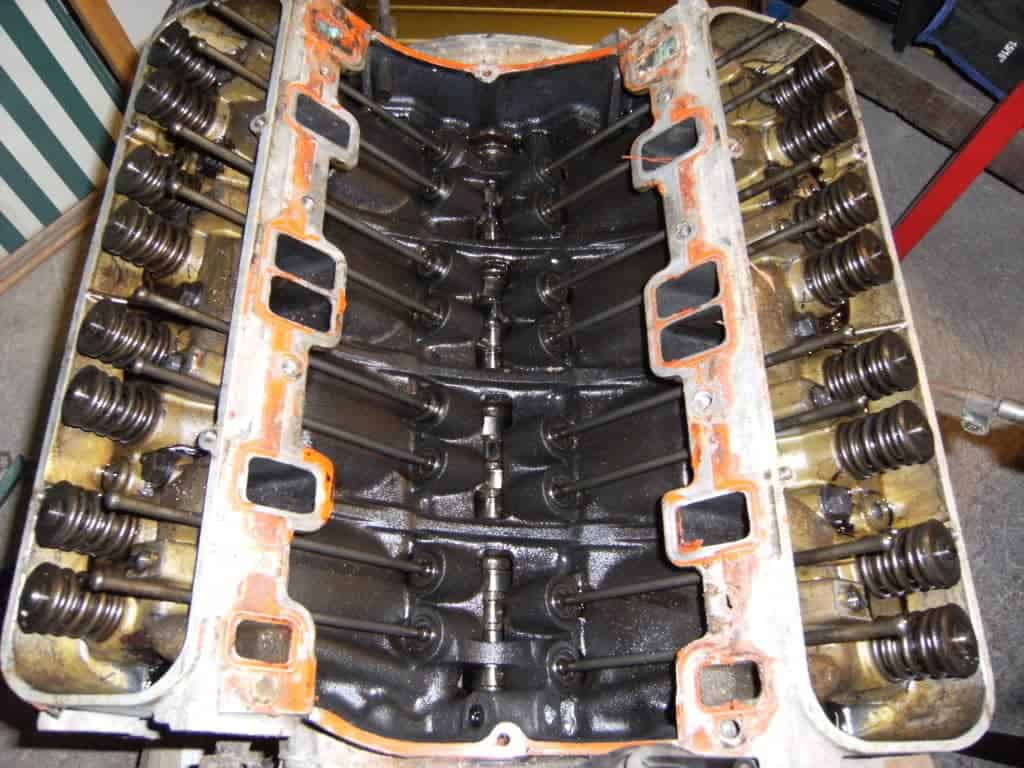
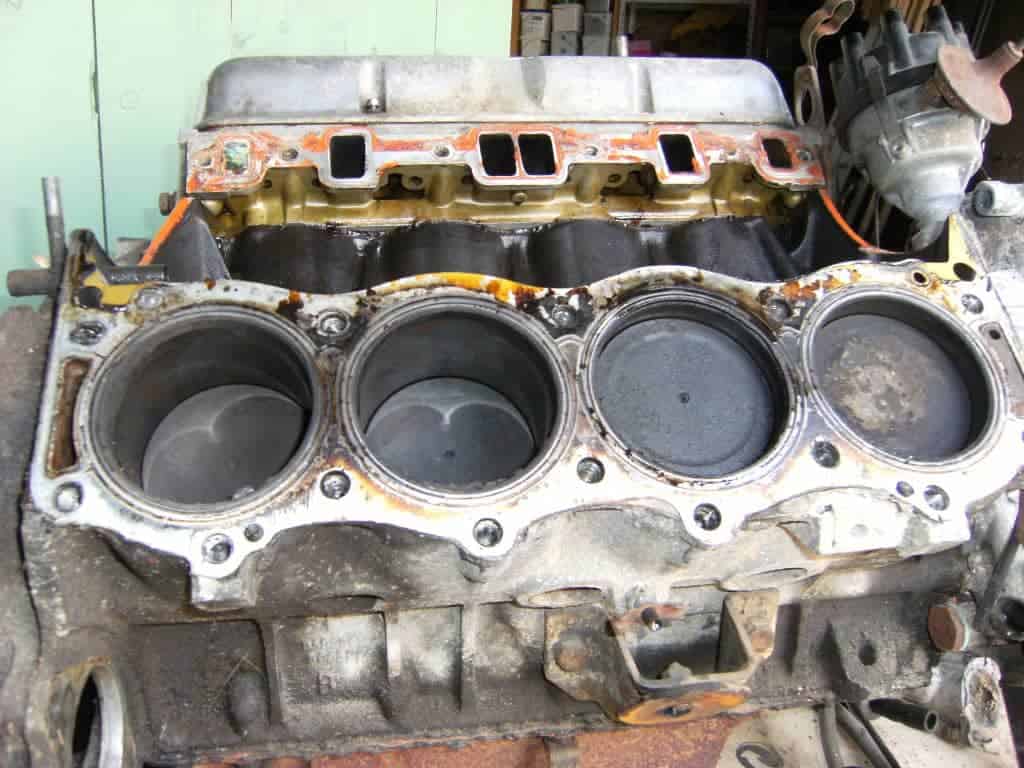
And here’s the block, showing the camshaft and pushrods:
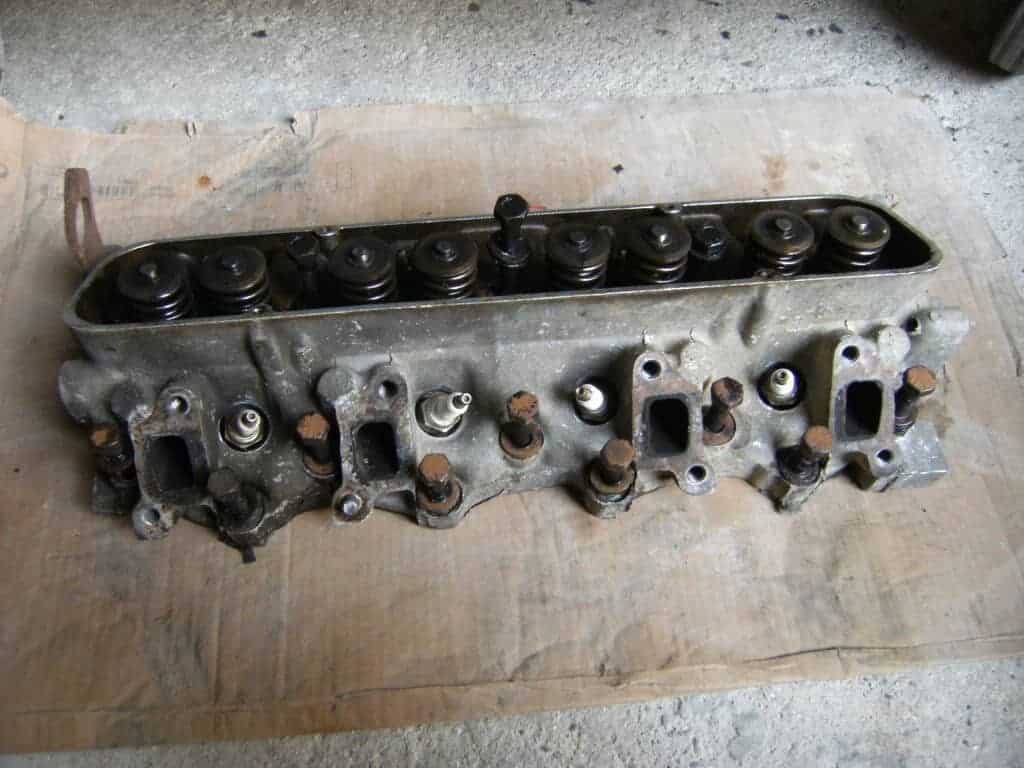
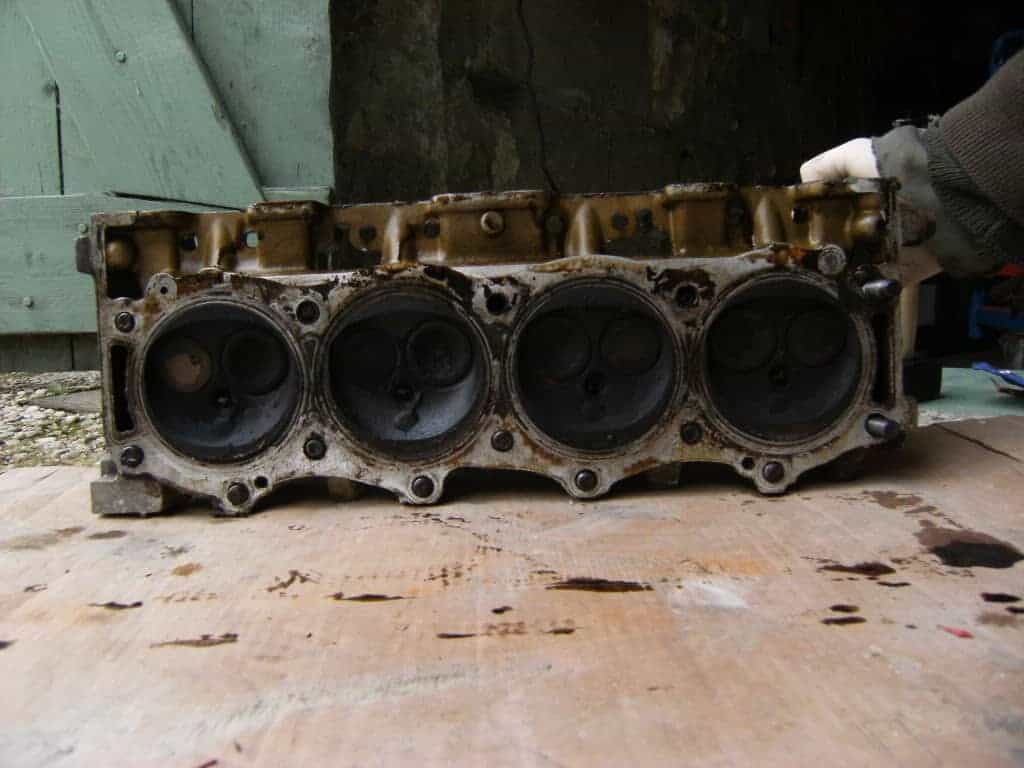
Here’s one of the cylinder heads removed:
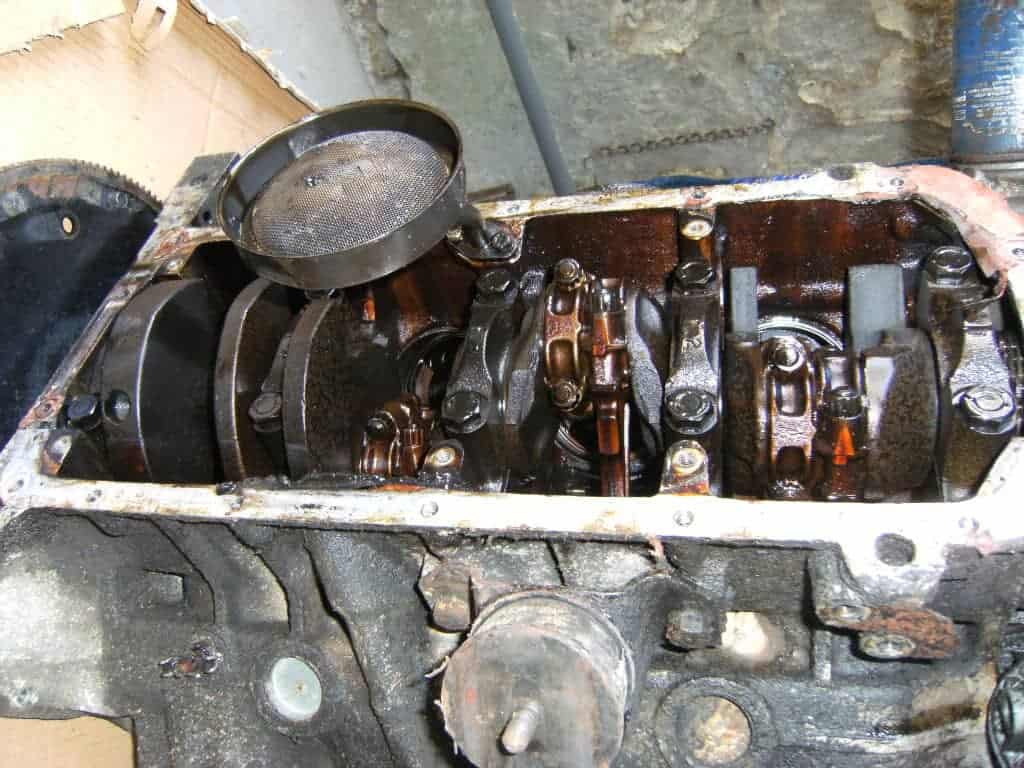
Thats the top of the engine done. Here’s the bottom of the engine with the sump removed:

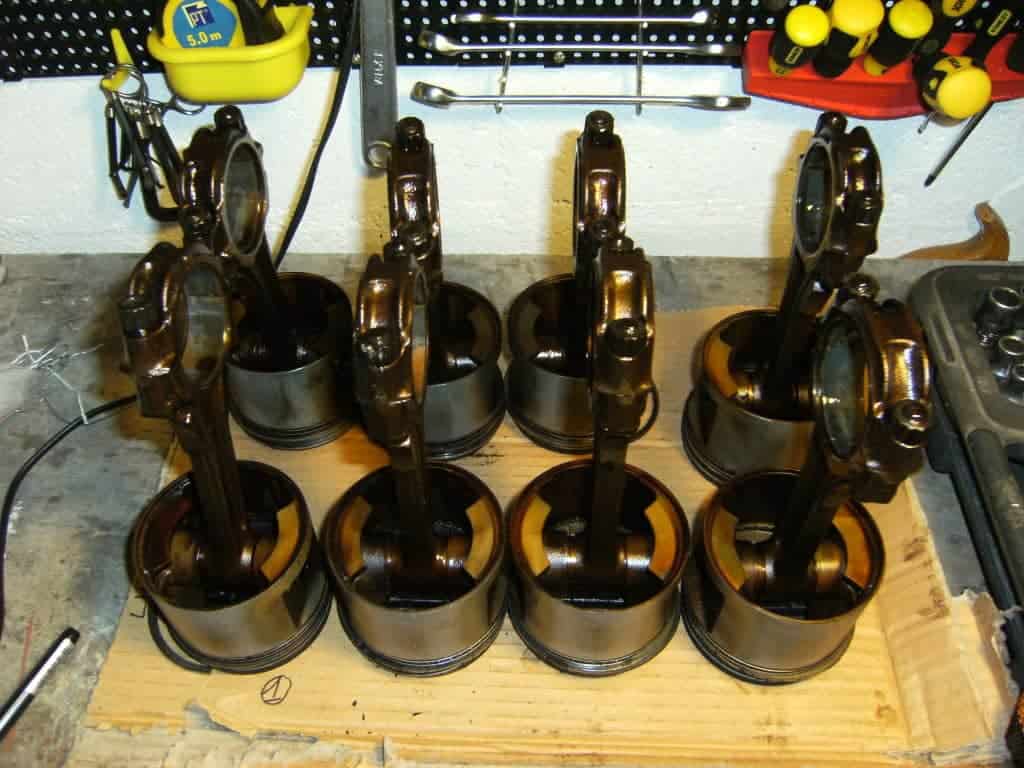
The crankshaft and con rods (the engine is now upside down):


Pistons removed:

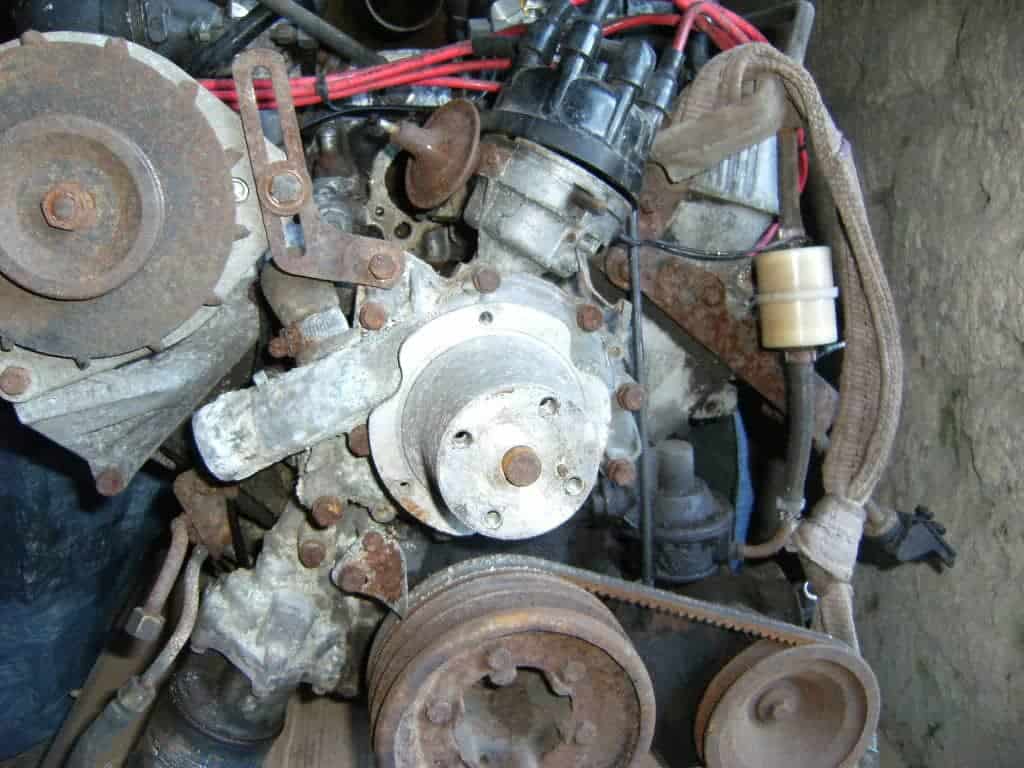
Let’s move to the front of the engine. First, a close-up of that fan before the engine dismantling began, with the water pump behind it:
The fan pulley outside and inside:

Removing the water pump:
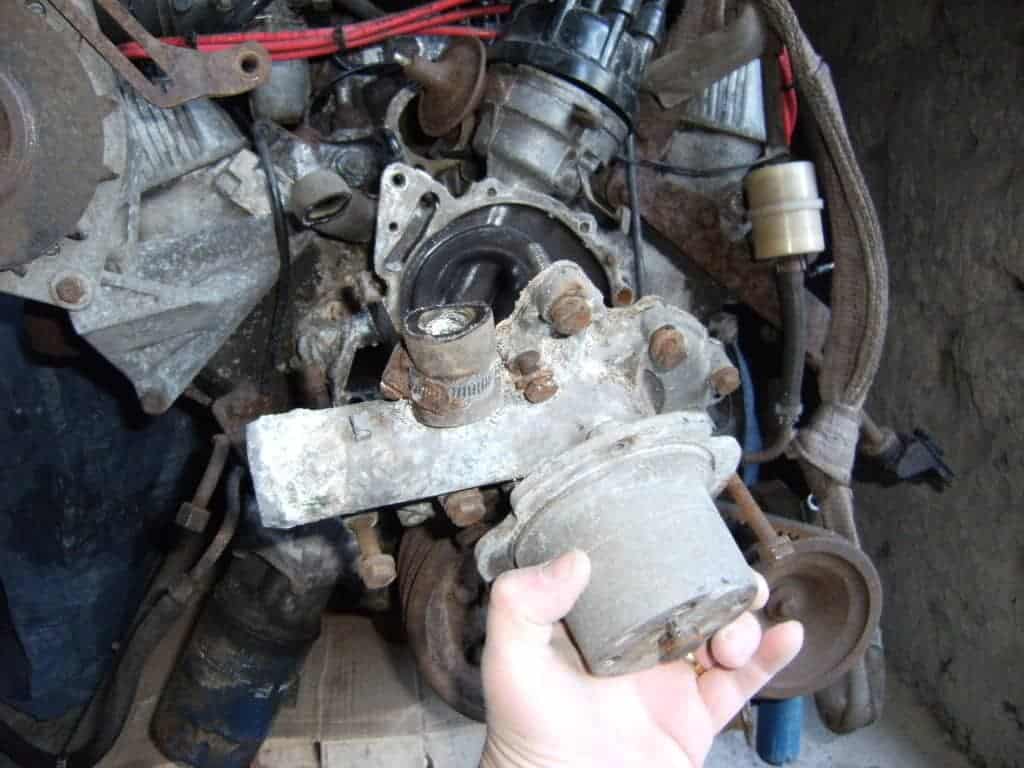
Inside the water pump, showing the impeller:
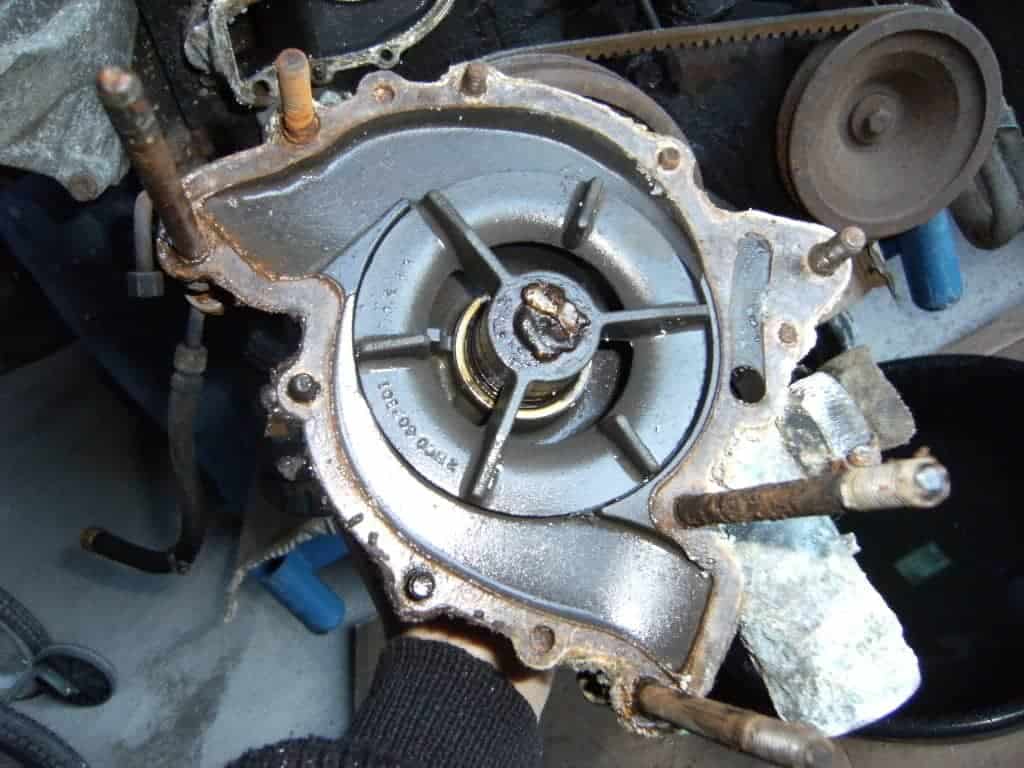
The water pump housing:
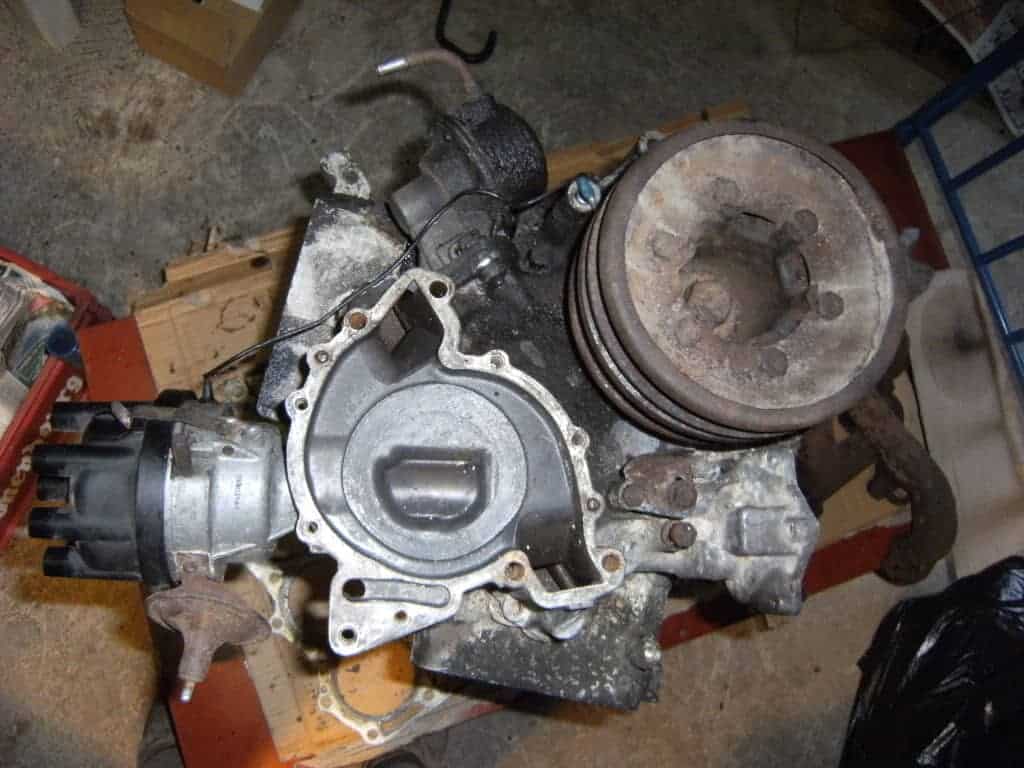
And again, but with the crankshaft pulley removed:
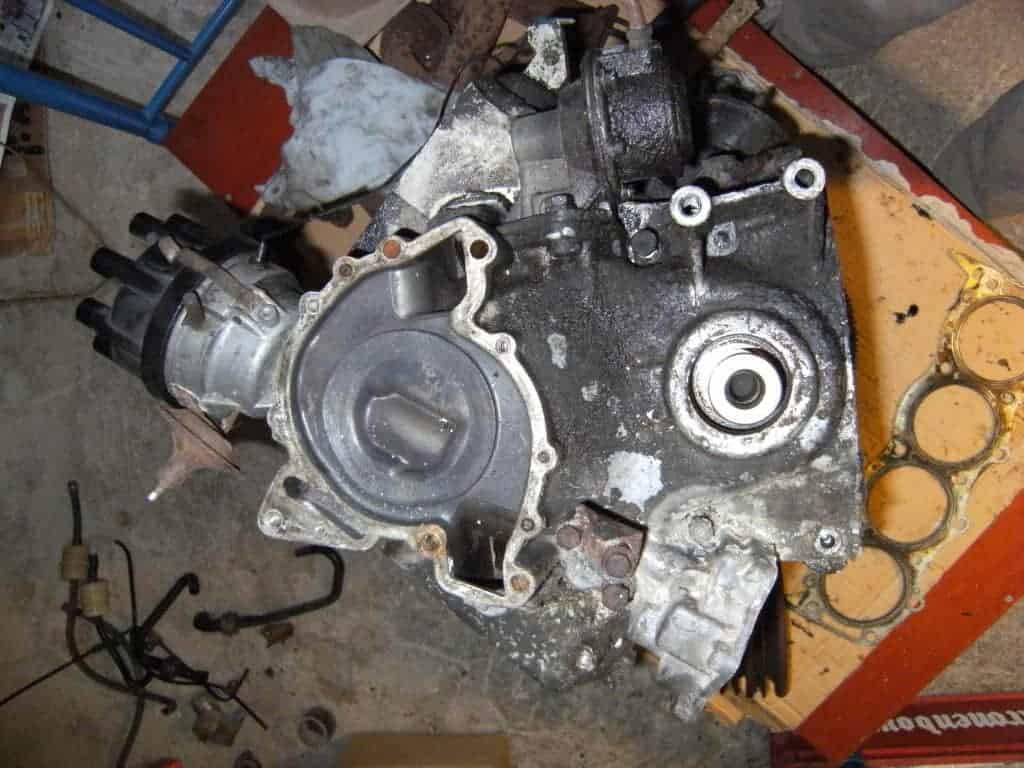
The timing chain:

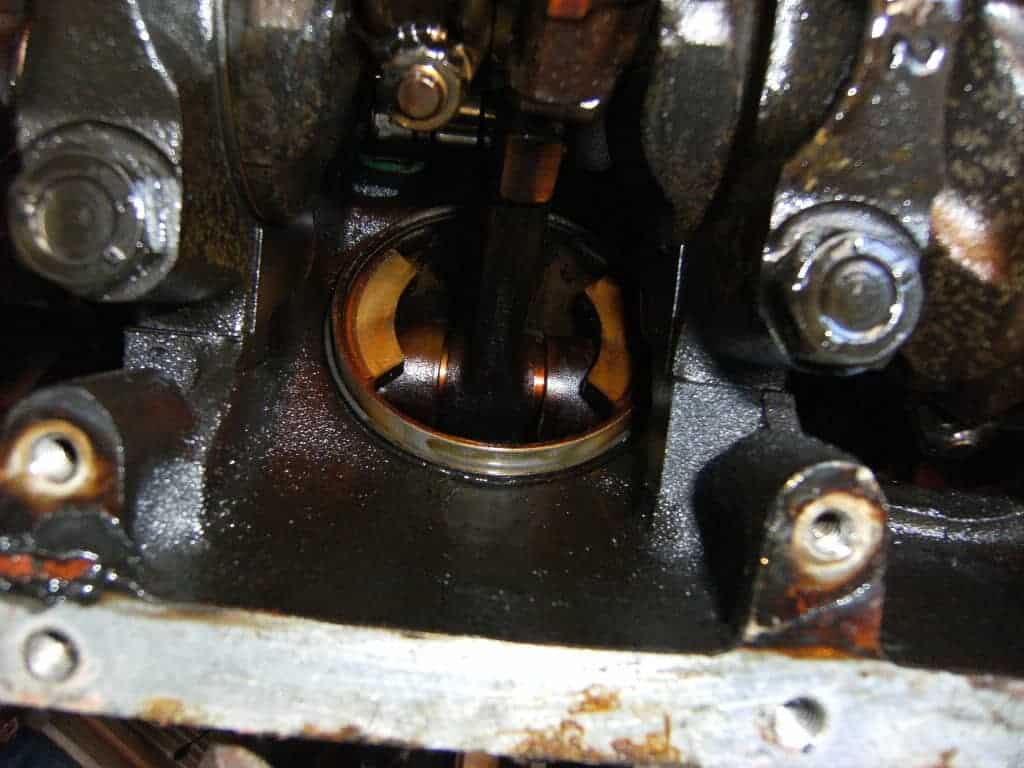
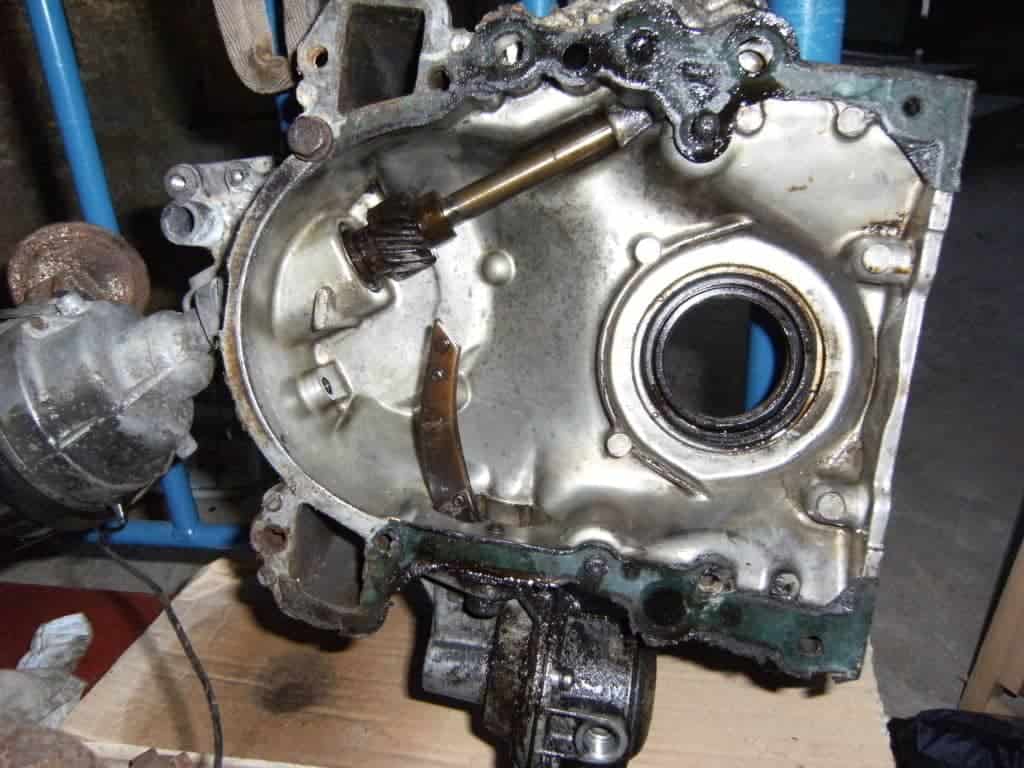
And the distributor drive and front crankshaft oil seal:
Here’s the oil pump:

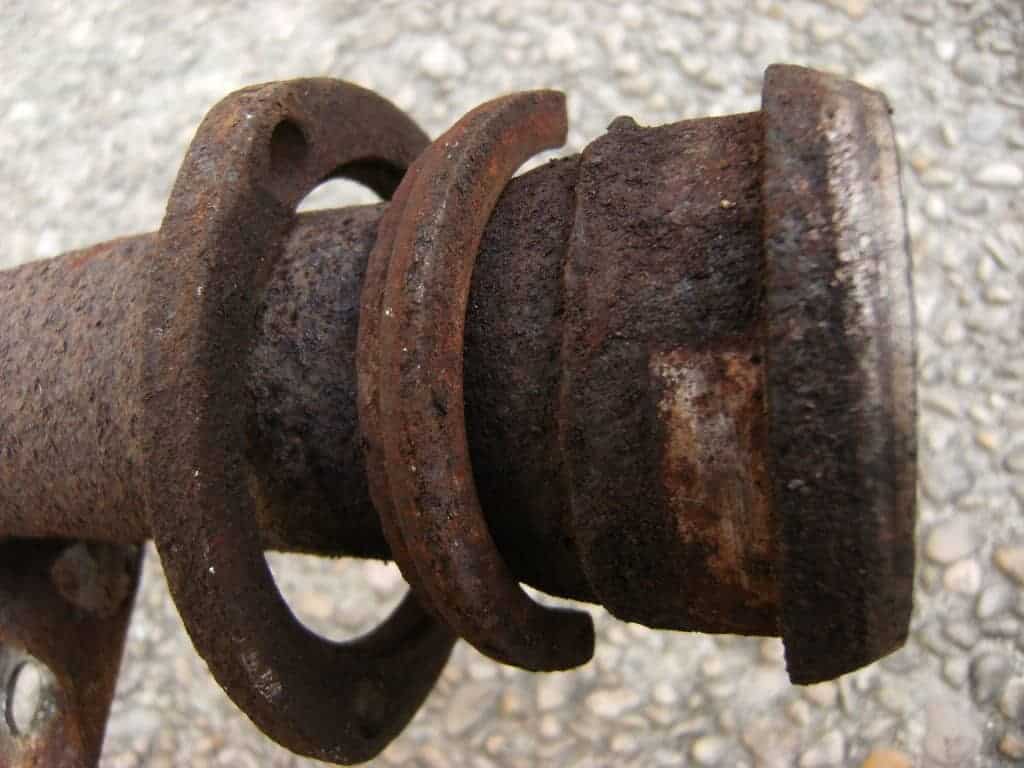
So that’s most of the engine stripped. Here’s the flange and split-collar assembly on the exhaust system:

So, that’s the engine stripped. The Rover V8 is undisputedly a classic engine, and it transformed the P5 by being both lighter and more powerful than the 3-litre straight-six. The V8 wasn’t as smooth, but its installation to create the P5B extended the car’s lifespan until 1973, and was a low-risk, low-volume proving-ground for the new engine, before its installation into the P6 and Range Rover.
In the next instalment we’ll look at the brakes. Keep reading and Subscribe!