

Rover P5B Coupe In The Nude [Part 2a]: The Interior
Continuing the strip-down of a Rover P5B Coupe by Cyrille, lets see what the interior or the Rover P5/P5B looks like in various states of undress. This part has been split into two due to the large number of images.
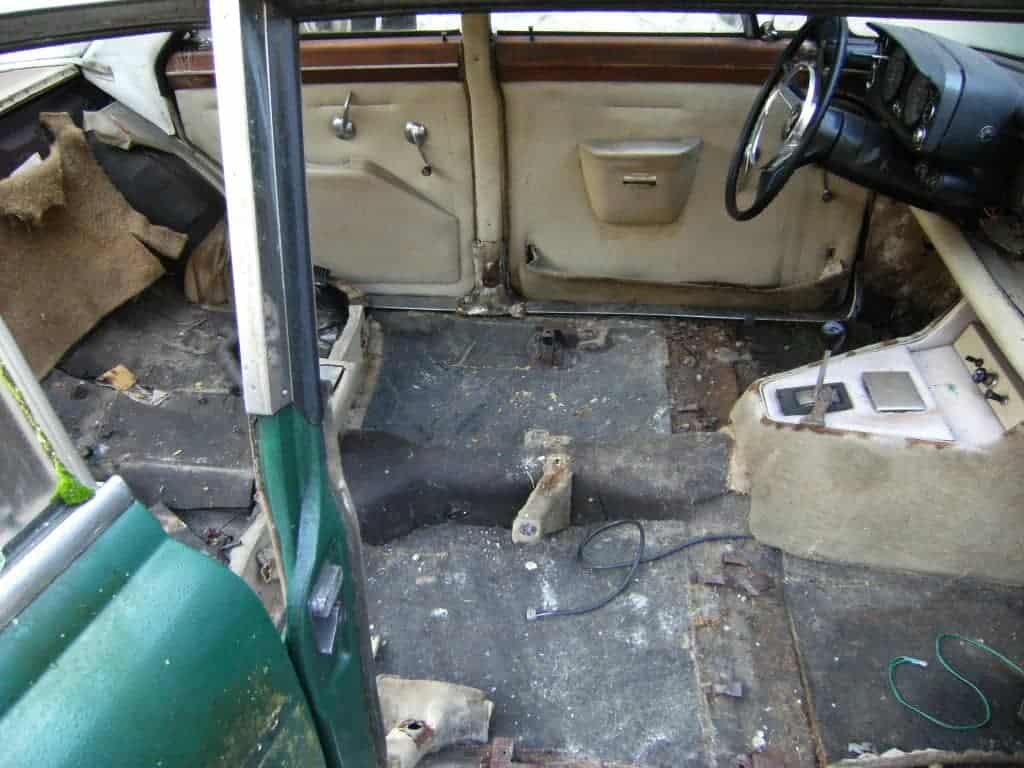
We start with the seats and carpet having already been removed. The front seat runners bolt to the floorplan, so are simple to remove (just slide the seats forwards and backwards to expose the bolts). The front seats, however, are extremely heavy, so take care lifting them out:
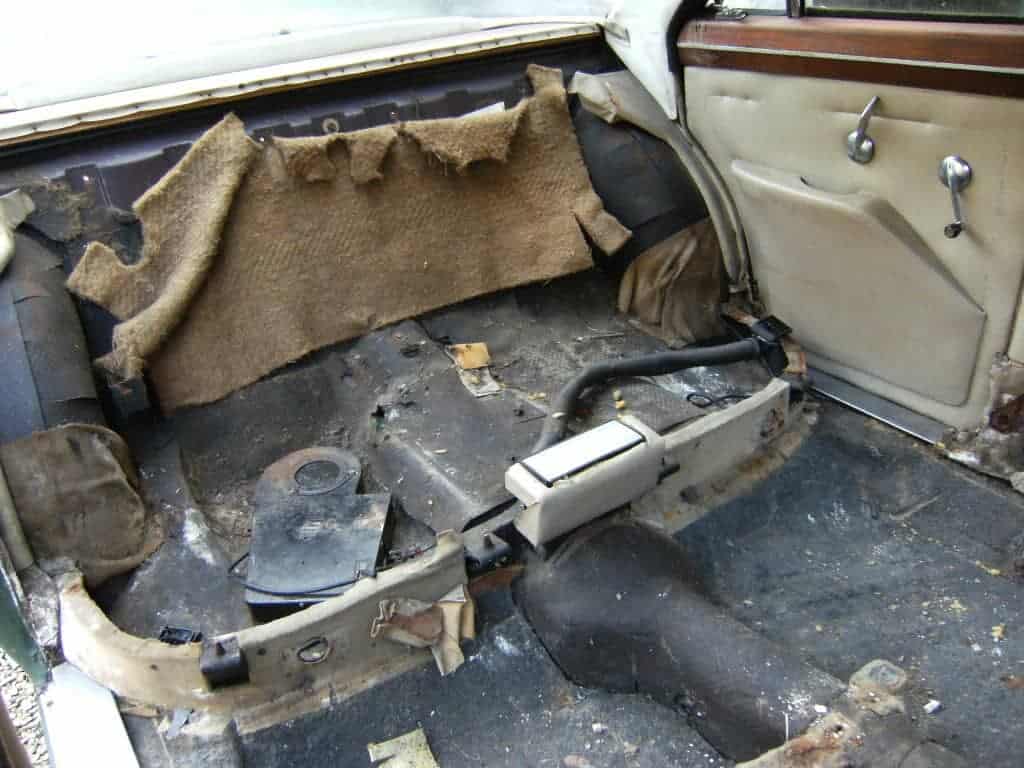
The area behind and underneath the rear seat. The black box in the lower left of this photo is the rear heater, and the hose under the seat is the heater air outlet going to the vent on the left under the seat:
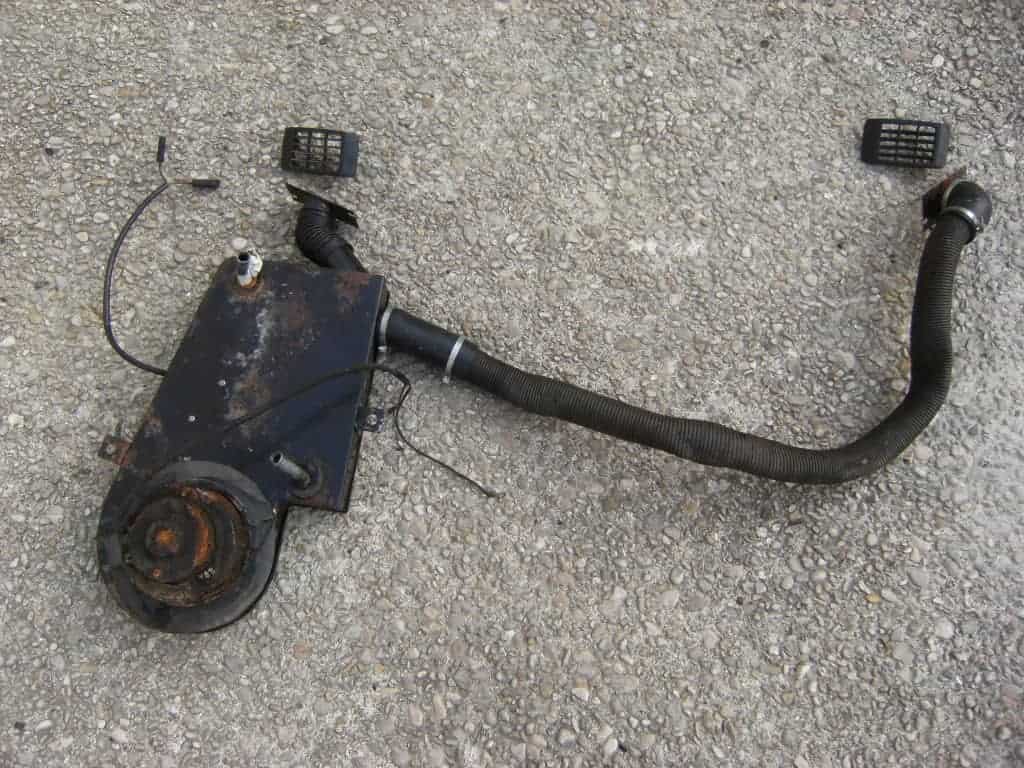
Here’s the rear heater out of the car. There are two water pipes running from the engine under the car to this unit, with a switch for rear passengers to control the fan. Warm air comes out from under the rear seat into both rear footwells. Quite often these don’t work due to lack of maintenance, or have been disconnected due to the risk of losing coolant if one of the hoses splits. The front heater will provide plenty of heat if well maintained, but a rear heater is a lovely thing to have working if at all possible:
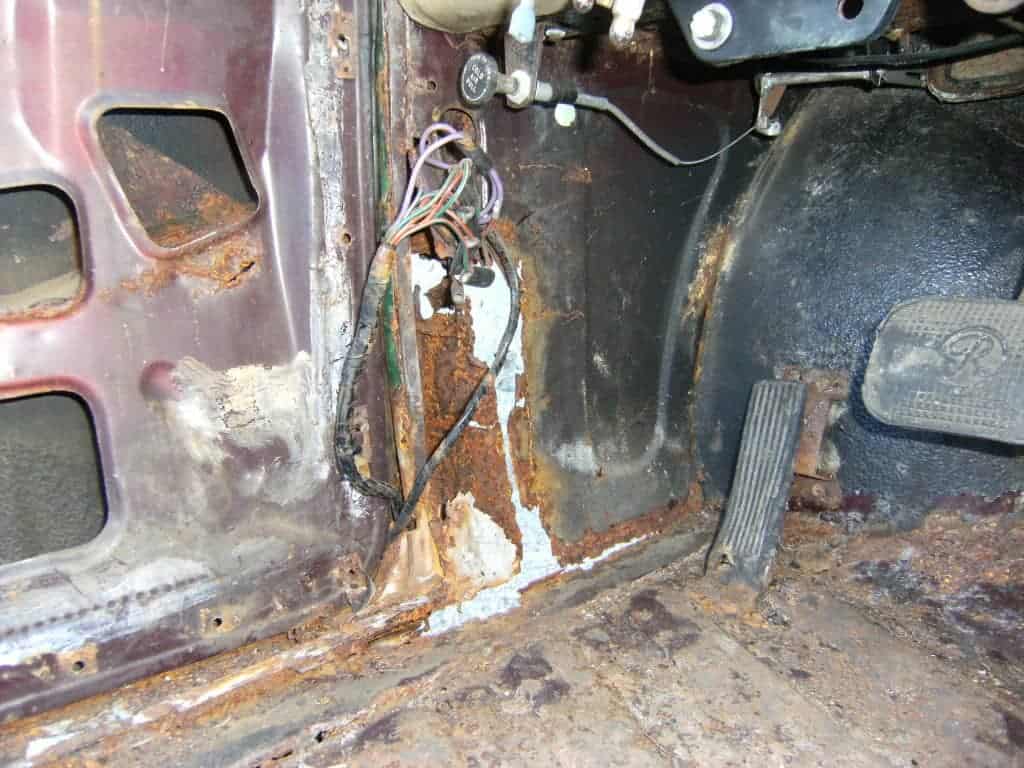
Here’s the inside of the front left-hand-side wheel arch. The wiring loom to the rear of the car passes through here (you can see it hanging), with a bunch of bullet connectors connecting the rear loom to the front. If you’re having issues with electrics in the rear, this is an area to check:
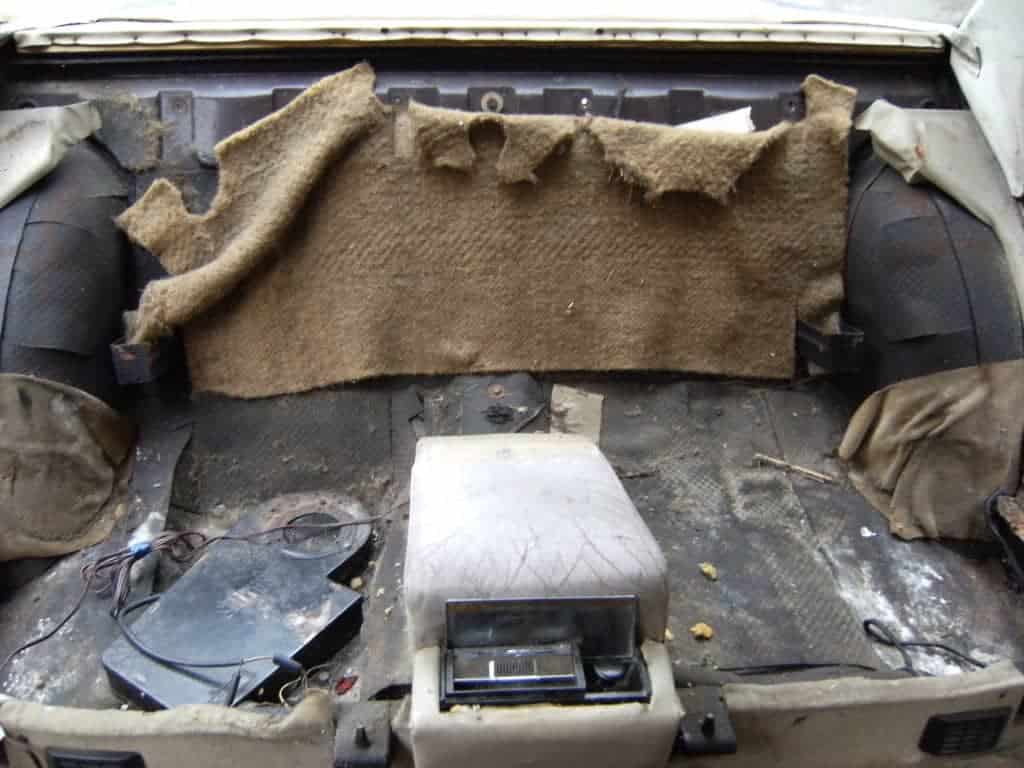
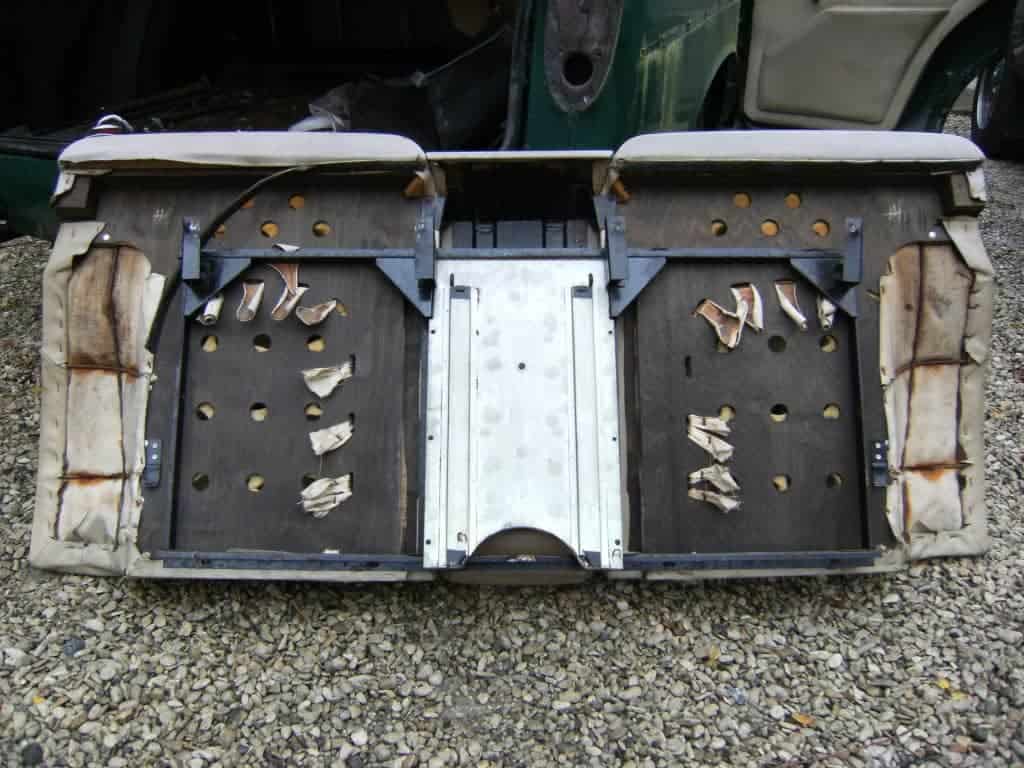
The back of the rear seat. You can see the black metal frame, which bolts through the rear firewall just above the petrol tank – the frame then comes-out with the rear seat back:
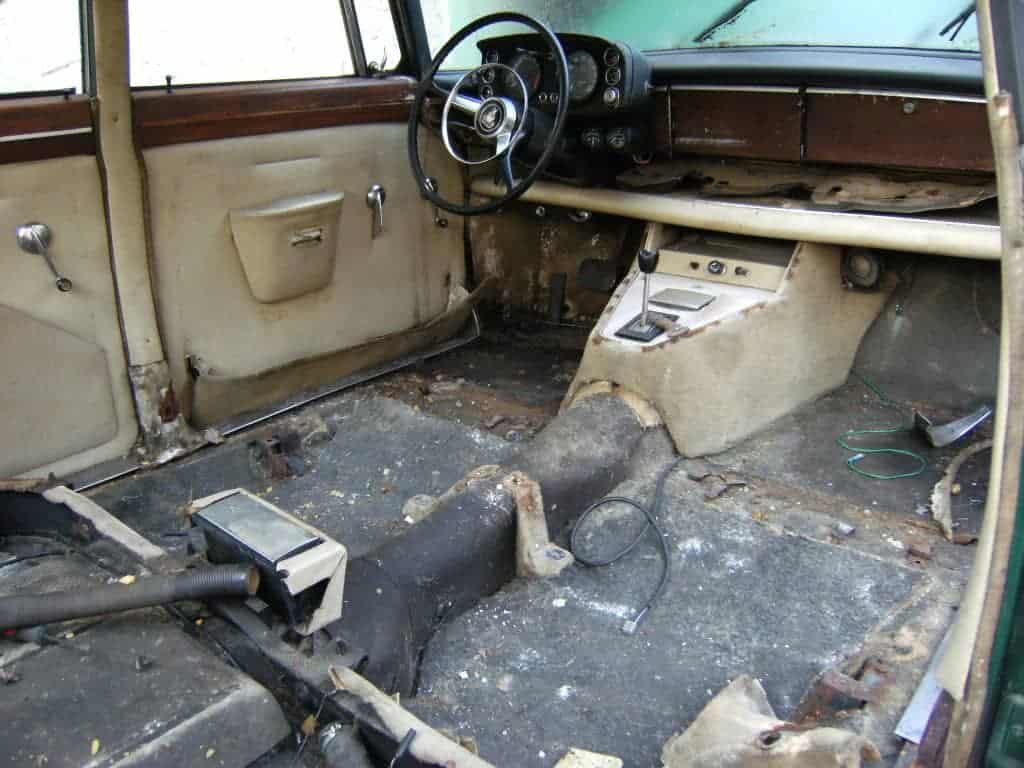
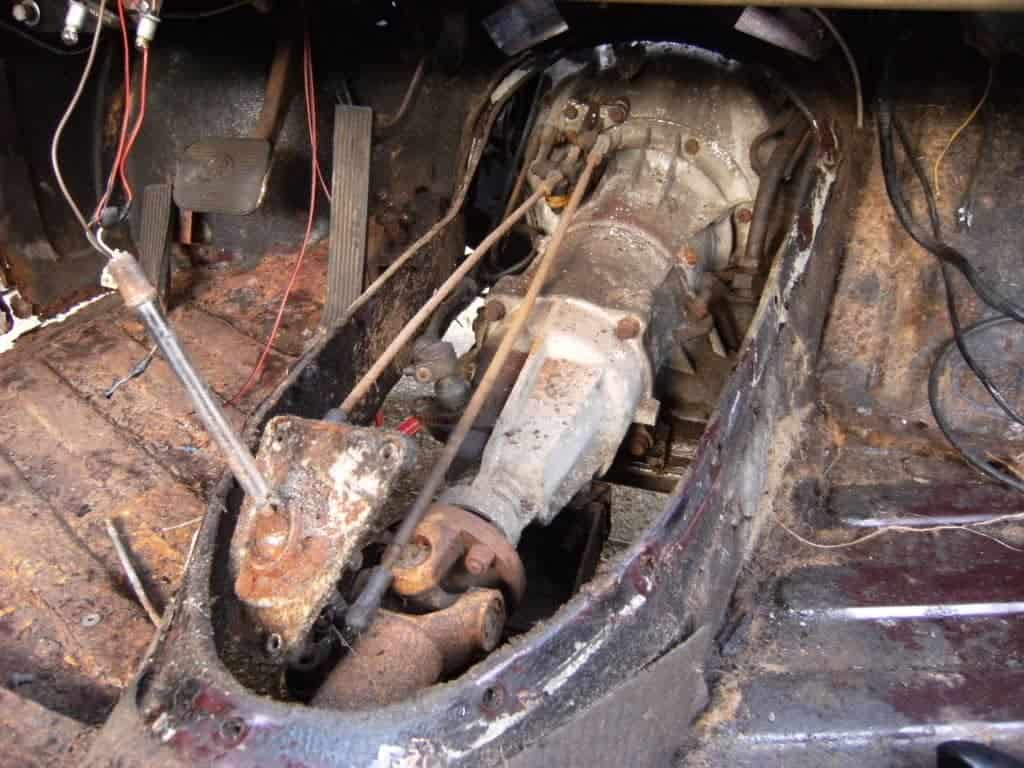
The centre console in position…

…and removed. You need to remove the gear selector knob to remove the selector surround and console – it’s been placed back on the gear lever in this photo. In front of the gear selector is a panel on top of the transmission tunnel cover that has 8 bolts – this panel allows access to the gear selector rods and balance mechanism, as well as to the inhibitor / reverse switch:
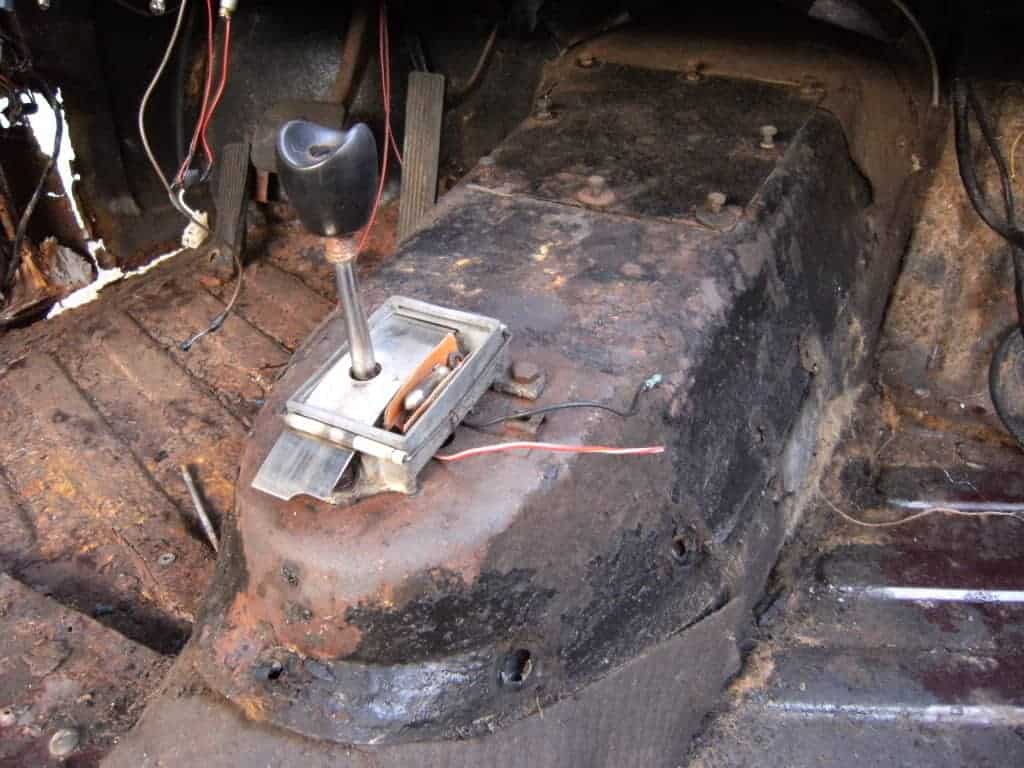
And the transmission tunnel cover removed. Here you can see the gear selector rods. On my car, the rod ends and mechanism were seized, making the gear selector very stiff. They’re Nylon ball and sockets, very well made, and they occasionally come-up on eBay. There are two different sizes – refer to the manual:
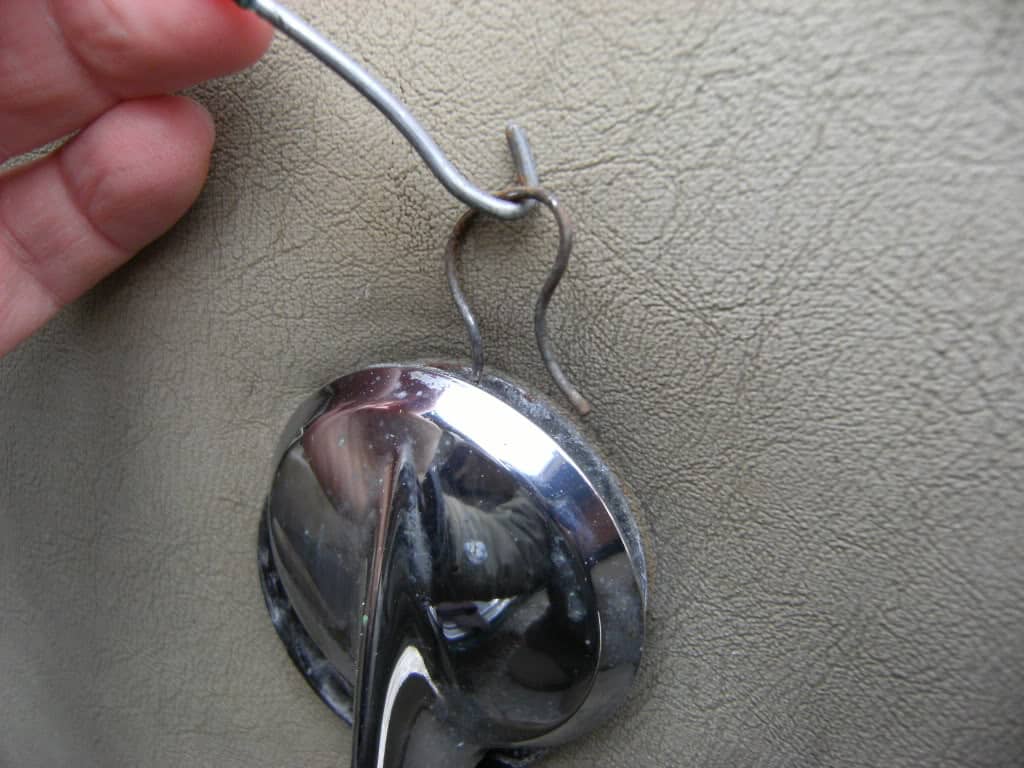
Next, removing the interior door handles. Cyrille says “That was my first dismantling and I had no WSM so I made lot of pictures to remember how the car is made. For instance, how to remove the handle.”
As another contributor says on the Forum: “When I was first fiddling with cars, people in the trade down here referred to these as Jesus clips. This was because people often tried to remove them by lifting one side with the end of a screwdriver. It was named after the exclamation that was often made when it flew off and disappeared.”
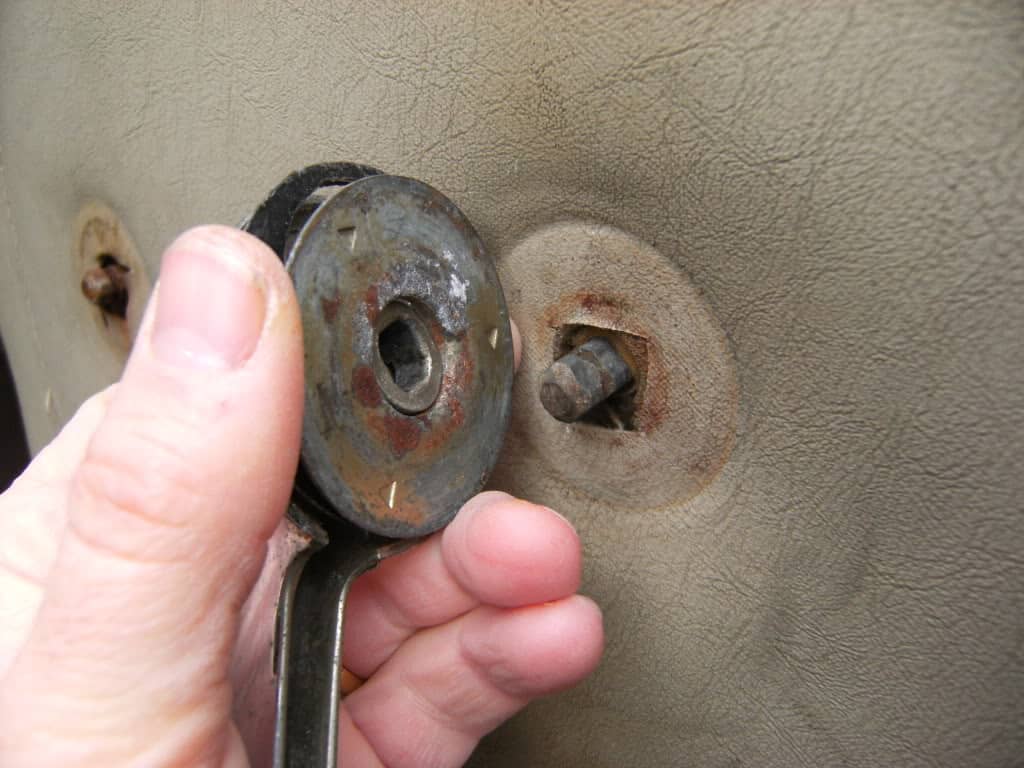

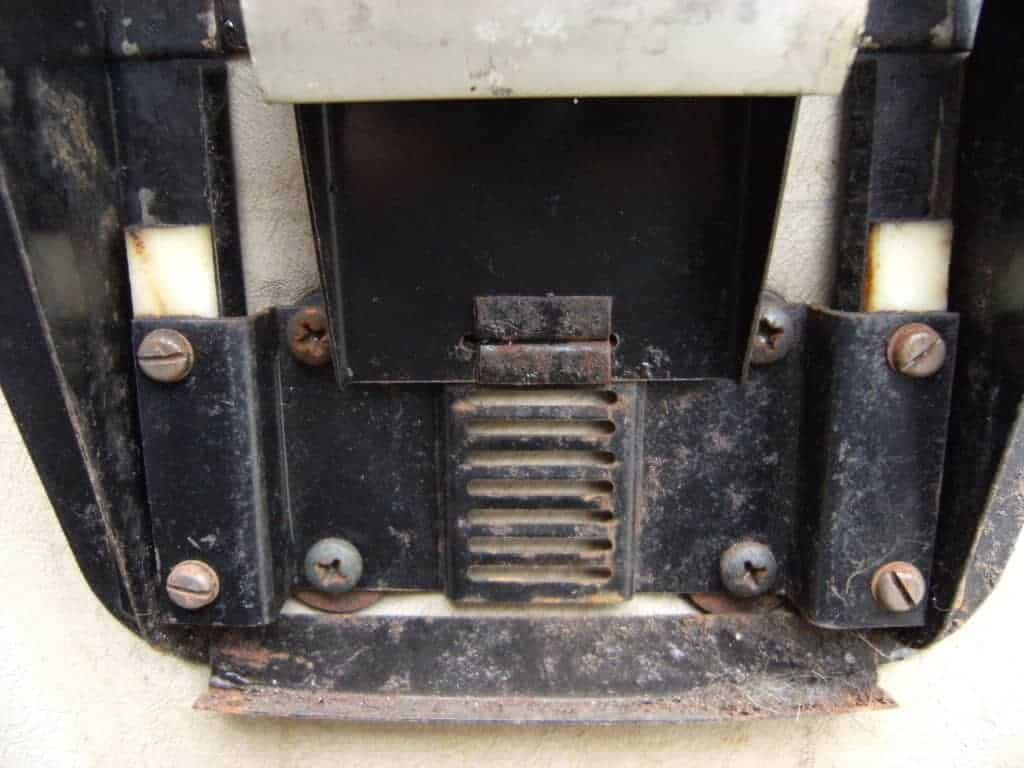
Here’s one of the adjustable front arm rests being removed from the door, starting with one of the plastic pins underneath that just pull out:

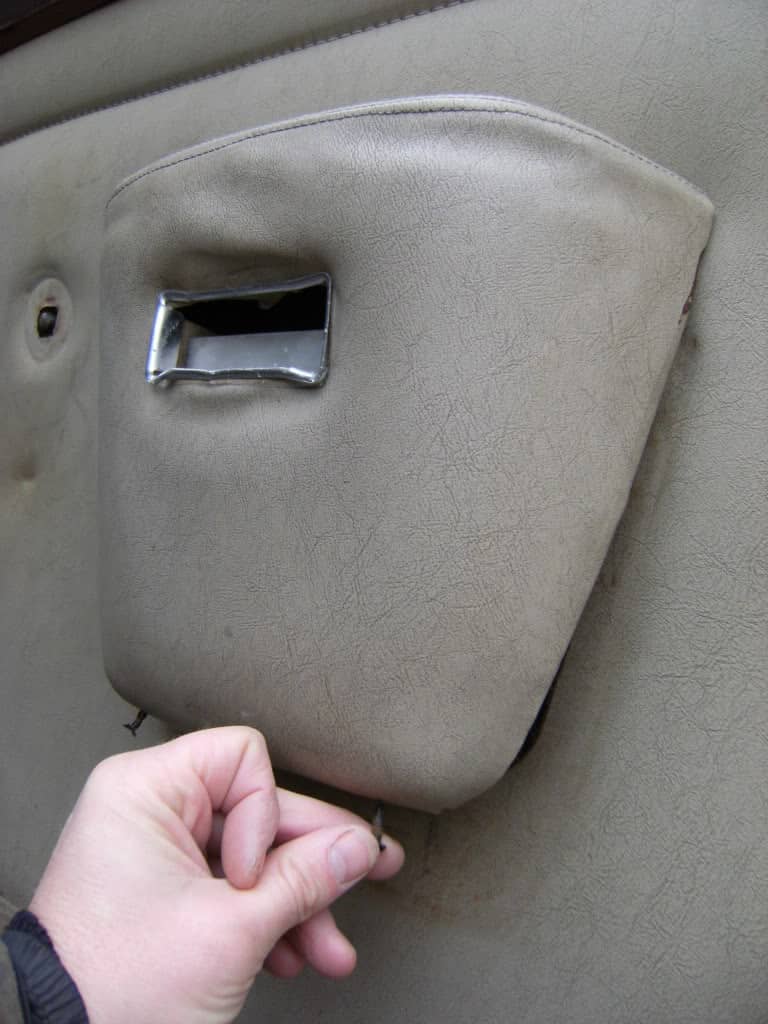
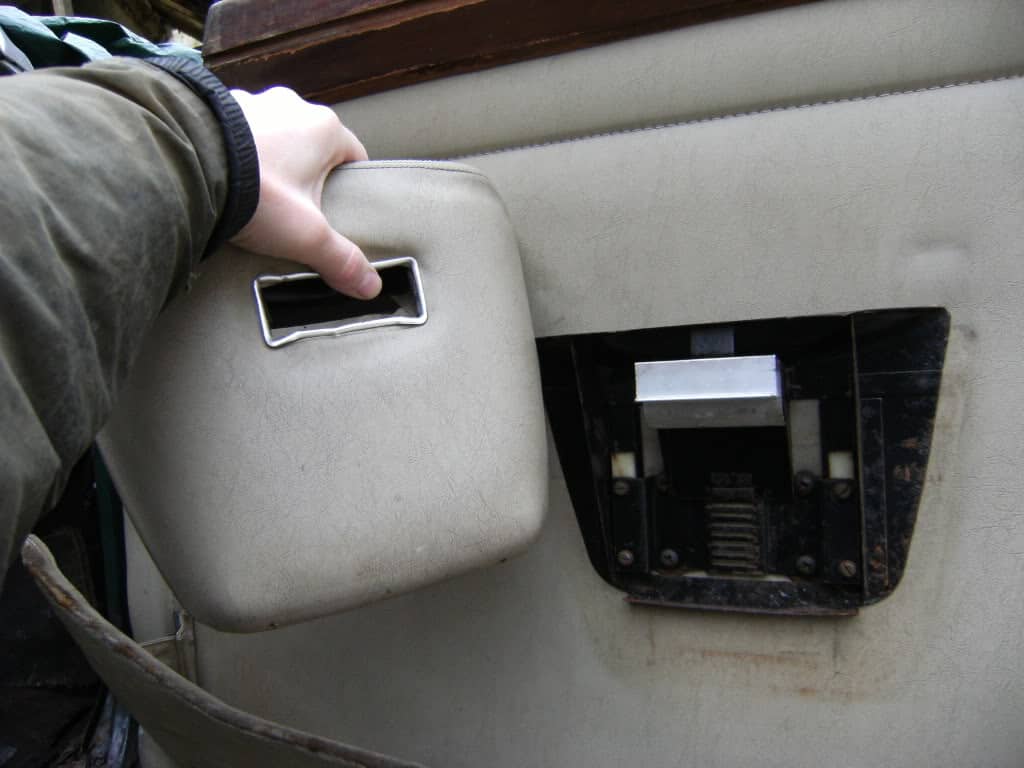
And here’s the adjusting mechanism, still screwed to the door:
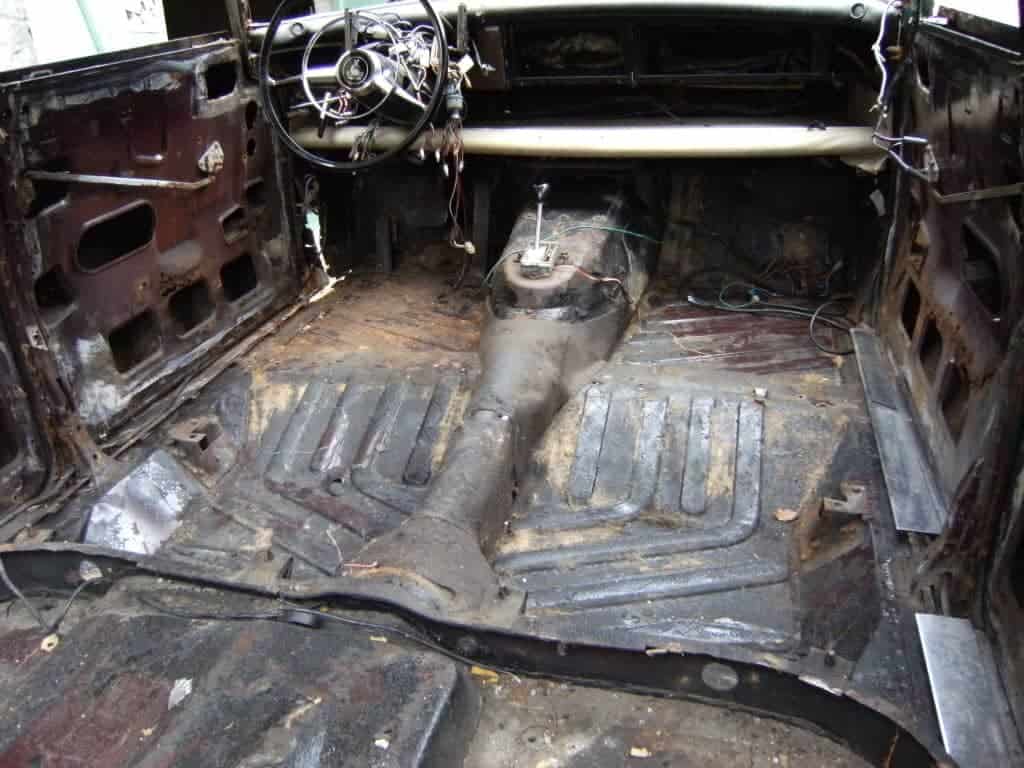
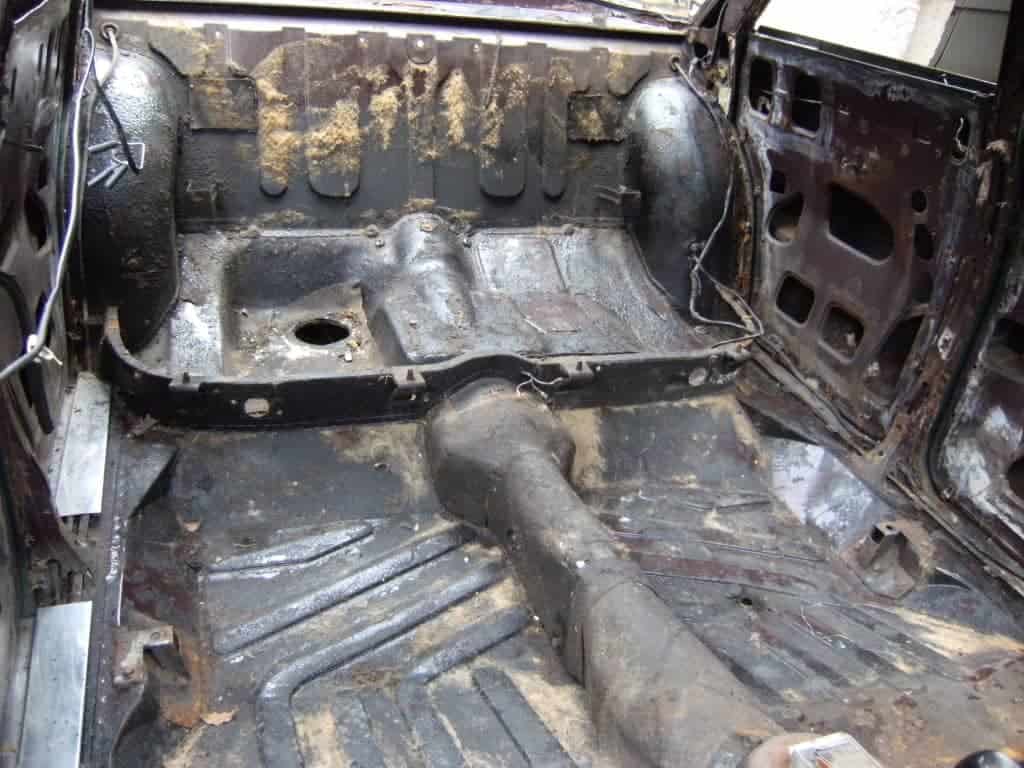
In the pictures below, you can see the floorpan with sound insulation removed, and the wiring loom with the stainless steel sill plates left in place on one side:
The opening and locking assembly of the font door:

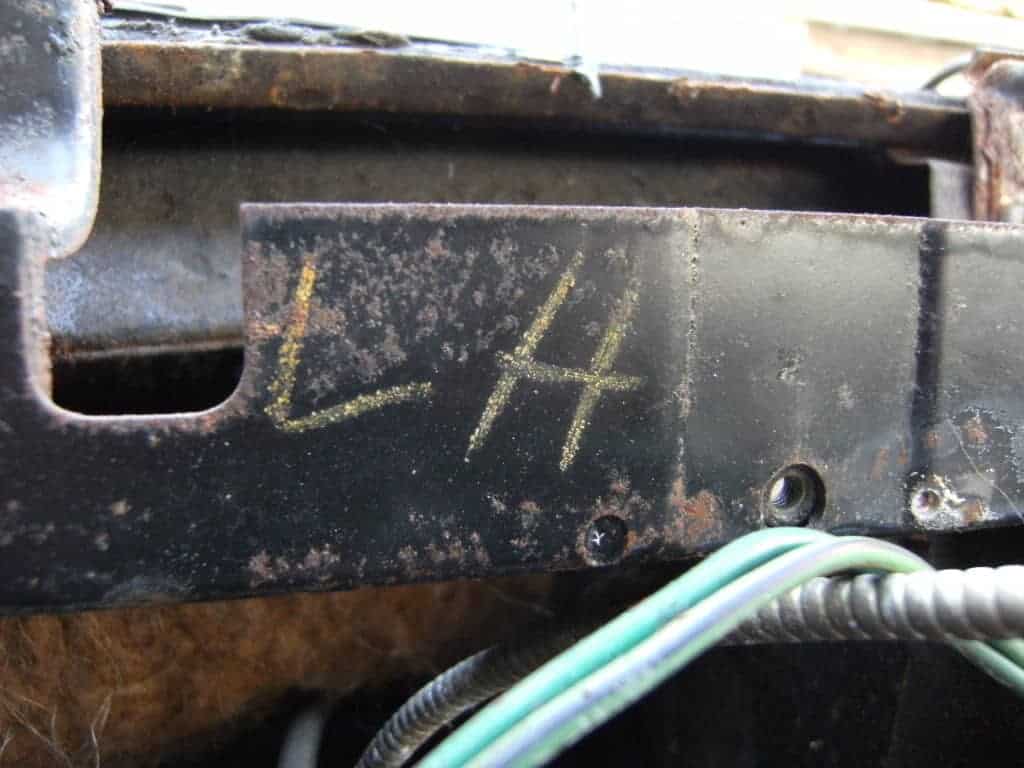
How the factory made sure it was clear on the production line which dashboard frames were for left-hand-drive cars. I love these sorts of details, as they feel like a direct-link back to the workers who made these cars. On my car there’s similar writing in yellow crayon inside the door cards with a date – I assume the manufacturing date:
One of the members of the Rover P5 Club Forum added: “A guy I know used to specialise in selling Ford Escorts. He was well know for winding back (‘adjusting’ he called it) speedometers. He bought a car once, and laying on his back to get at the dials he found a notice stuck on the back of the gauge. It said ‘Oh no, not again’.
The dashboard with the dash woodwork and metal frame removed. Obviously the steering column is on the left on this car, and the handbrake lever is just visible to the left of that:

More to follow soon. Why not subscribe to be notified of updates?